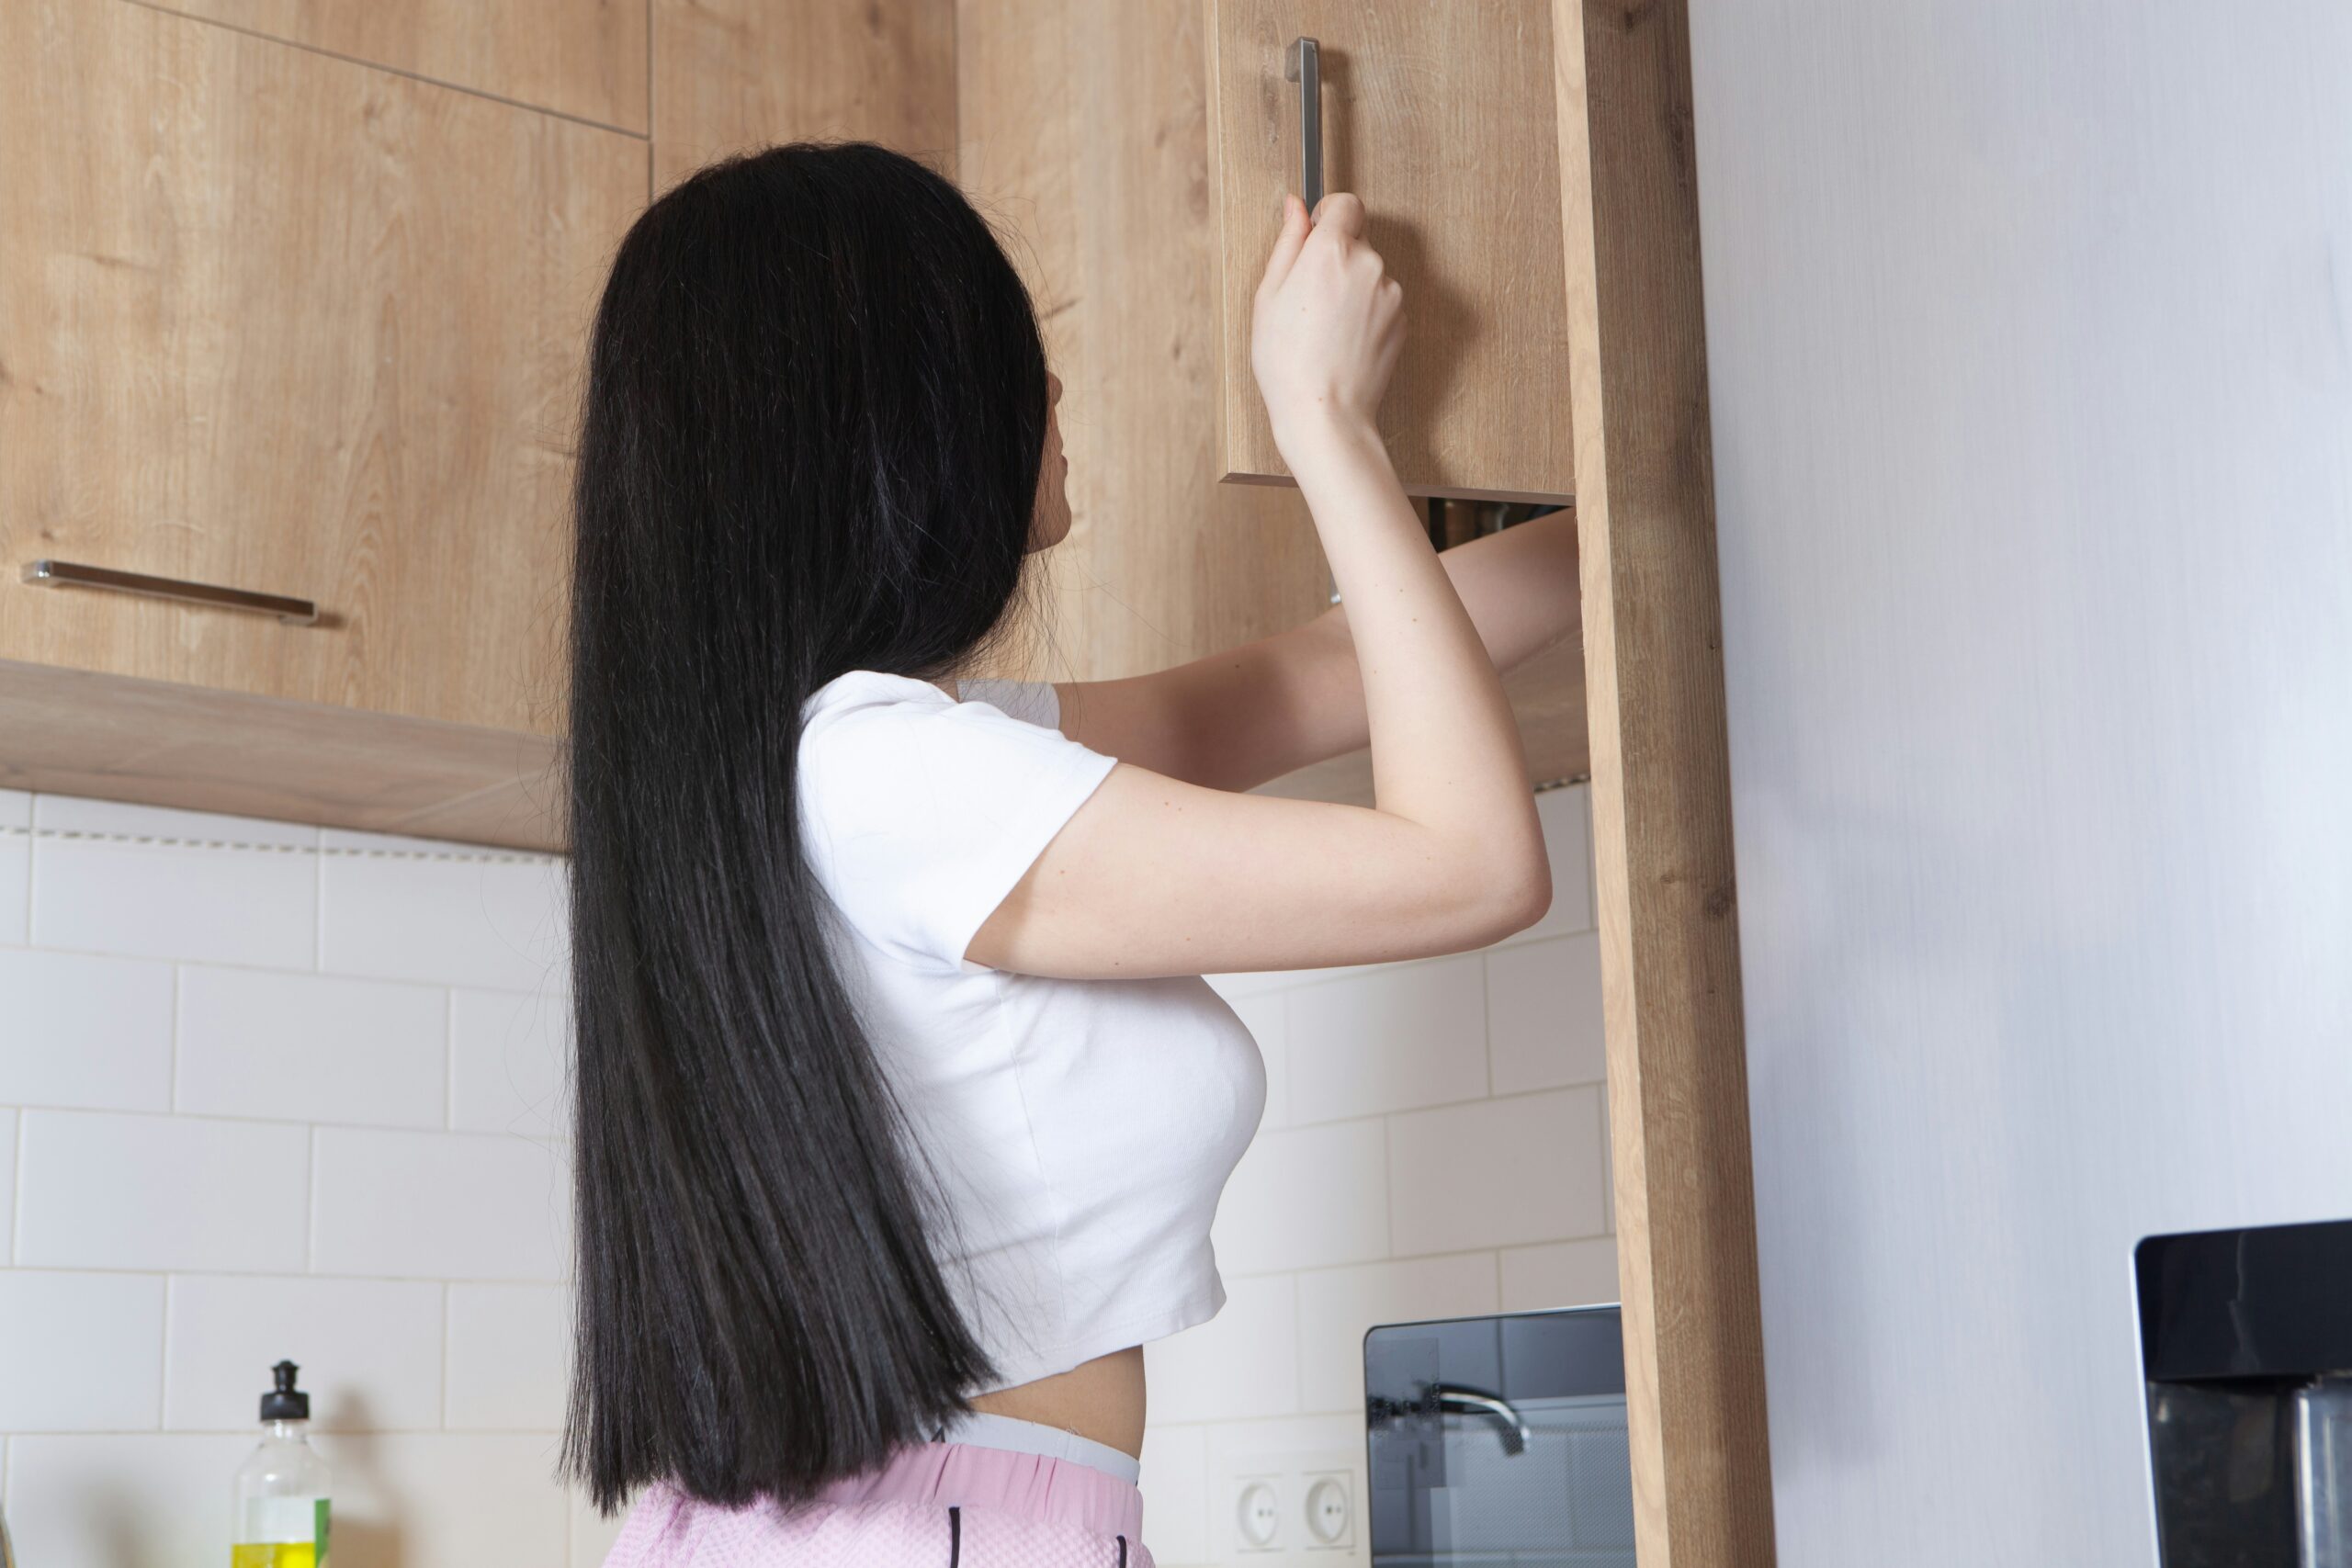
Kitchen cabinets have a way of becoming disaster zones without you even realizing it. You start with good intentions — everything has a place, the labels face forward, and you can actually find what you need. Then life happens. You buy a new spice because you couldn’t find the one you already had. You shove the blender in the back corner because you’re in a hurry. You keep the old chipped mugs because you feel bad throwing them away.
Six months later, opening a cabinet door feels like a gamble. Something might fall out. You might not be able to close the door again. And you definitely can’t find the measuring spoons.
I reorganized my kitchen cabinets three times before I figured out why they kept reverting to chaos. The problem wasn’t my effort — it was my system. I was organizing based on how things looked instead of how I actually used them. Once I changed my approach, the organization actually stuck.
This guide walks you through a practical, realistic method for organizing your kitchen cabinets. It’s not about buying expensive containers or making your kitchen look like a magazine photo. It’s about creating a system that works for how you actually cook and live.
Why Most Kitchen Cabinet Organization Fails
Before you start pulling everything out of your cabinets, it helps to understand why previous attempts might not have lasted.
You Kept Too Much Stuff
The most common reason organization fails is that there’s simply too much stuff for the space. No amount of clever arranging can fix an overfilled cabinet. If you have to move five things to get to the one you want, the system will break down within days.
You Organized for Looks Instead of Function
Matching containers and alphabetized spices look great, but if your most-used items are in the back of the hardest-to-reach cabinet, you’ll stop putting them away properly within a week. Organization has to work with your habits, not against them.
You Didn’t Use Vertical Space
Cabinets have a lot of vertical space that most people waste. If you’re stacking pots three deep or piling plates so high you’re afraid they’ll fall, you’re not using the space efficiently.
You Didn’t Maintain It
Even the best system needs occasional maintenance. If you don’t have a simple routine for putting things back where they belong, small messes turn into big ones fast.
Step 1: Empty Everything Out
Yes, everything. Don’t try to reorganize by moving things from one shelf to another. You need to see what you have and start with a blank slate.
- Clear off your kitchen table or counters.
- Remove everything from one cabinet at a time. Work in sections so you’re not overwhelmed.
- Group similar items together on the table or counter as you remove them. Put all the baking stuff in one pile, all the mugs in another, all the pots and pans in another.
This step is messy and takes time, but it’s essential. You can’t organize what you can’t see.
Step 2: Declutter Ruthlessly
This is the step most people skip, and it’s the reason their cabinets end up cluttered again. You have to get rid of things you don’t use before you can organize what’s left.
Ask yourself these questions about each item:
- Have I used this in the last year? If not, do you really need it?
- Do I have duplicates? You probably don’t need three cheese graters or four spatulas.
- Is it broken, chipped, or missing parts? If you haven’t fixed it by now, you’re not going to.
- Do I actually like using it? Life is too short for pans that stick and knives that don’t cut.
- Am I keeping it out of guilt? Gifts, inherited items, and expensive purchases you never use take up valuable space.
What to Get Rid Of
- Duplicate utensils and gadgets
- Mismatched food storage containers and lids
- Expired food and spices (more than a year old for spices)
- Chipped mugs, plates, and glasses
- Appliances you haven’t used in a year
- Mismatched or worn-out towels and dishcloths
- Takeout menus, old magnets, and other kitchen drawer clutter
What to Do with the Discards
- Donate usable items to a thrift store or shelter
- Recycle broken glass and metal
- Throw away expired food, chipped dishes, and broken items
- Sell valuable items if you have the time and energy
Be honest with yourself. If you haven’t used the fondue pot in five years, you’re not going to use it in the next five. Let it go.
Step 3: Map Out Your Cabinet Zones
Before you put anything back, decide what goes where. The key principle is to store items based on how often you use them and where you use them.
The Golden Rule: Store Items Near Where You Use Them
This sounds obvious, but most people don’t do it. If you make coffee every morning, the coffee maker, mugs, and coffee should be near each other. If you bake once a month, the baking supplies don’t need prime real estate.
Frequency of Use
| Frequency | Where to Store | Examples |
|---|---|---|
| Daily | Easy-to-reach shelves at arm level | Plates, glasses, coffee mugs, cooking utensils |
| Weekly | Lower or upper shelves | Pots, pans, mixing bowls, baking sheets |
| Monthly | High shelves or back of cabinets | Roasting pan, fondue pot, holiday dishes |
| Rarely | Top shelves, basement, or storage | Canning supplies, specialty appliances |
Suggested Cabinet Zones
Dishes and Glasses Zone
- Near the dishwasher or sink for easy unloading
- Plates and bowls on lower shelves for easy access
- Glasses and mugs on upper shelves
Cooking Zone
- Near the stove
- Pots, pans, and cooking utensils
- Spices and oils
Food Storage Zone
- Near the refrigerator
- Food storage containers, wraps, and bags
- Bulk dry goods if you don’t have a pantry
Baking Zone
- Grouped together if you bake regularly
- Baking sheets, mixing bowls, measuring cups
- Flour, sugar, baking powder, etc.
Utility Zone
- Under the sink or in a less accessible cabinet
- Cleaning supplies, trash bags, dish towels
- Keep cleaning supplies separate from food
Appliance Zone
- Based on frequency of use
- Daily appliances (coffee maker, toaster) on the counter or in easy-access cabinets
- Occasional appliances (blender, food processor) in lower or upper cabinets
Step 4: Use Organizers to Maximize Space
You don’t need to spend a fortune on organizers, but a few strategic tools can make a huge difference in how much fits and how accessible it is.
Shelf Risers
These double the usable space on a shelf by creating a second level. They’re perfect for plates, bowls, and mugs. A simple wire shelf riser costs about $10 to $15 and can hold an entire set of dishes that would otherwise be stacked in a wobbly tower.
Cabinet Door Organizers
The inside of cabinet doors is wasted space in most kitchens. Use over-the-door organizers or mountable racks to store:
- Cutting boards
- Pot lids
- Measuring cups and spoons
- Spices
- Cleaning supplies (under the sink)
Pull-Out Drawers or Bins
If you have deep lower cabinets, items in the back are hard to reach. Pull-out drawers or sliding bins let you access the entire cabinet without digging. You can buy aftermarket pull-out organizers that install in existing cabinets for about $30 to $50 each.
Turntables (Lazy Susans)
Turntables make corner cabinets and deep shelves functional. Put one in a corner cabinet and load it with spices, oils, or condiments. A quick spin brings everything to the front. They also work well for storing vitamins, sauces, or baking ingredients.
Tension Rods
A simple tension rod creates a divider in a cabinet, keeping baking sheets, cutting boards, or pot lids upright and separated instead of stacked in a pile. They cost about $5 and take two minutes to install.
Drawer Dividers
Kitchen drawers become junk drawers fast. Use dividers to separate utensils, keep measuring spoons from disappearing, and prevent the tangled mess of gadgets and tools.
Step 5: Put Everything Back with Intention
Now it’s time to put things back in their designated zones. A few principles to keep in mind:
Heavy Items Go Low
Store heavy pots, appliances, and dishes on lower shelves. If a heavy item falls from an upper shelf, it can cause injury and damage. Plus, it’s easier to lift a heavy pot from a lower cabinet than to reach up and pull it down.
Group Similar Items Together
Keep all your baking supplies in one area, all your spices together, and all your food storage containers in one spot. This seems obvious, but over time items migrate to wherever they fit instead of where they belong.
Keep Lids with Containers
The number one food storage container problem is lids separating from their containers. Store lids and containers together. Options include:
- Nesting containers with lids on top
- Storing all lids in one larger container
- Using a lid organizer rack
Face Labels Forward
In your pantry and spice cabinets, face all labels forward so you can see what you have at a glance. This prevents buying duplicates and makes it easy to find what you need.
Don’t Overpack
Leave some breathing room. If a shelf is packed so tight you can’t remove an item without moving three others, it’s too full. Aim for about 80 percent full — enough to look stocked but not so crammed that things fall out when you open the door.
Step 6: Maintain the System
Organization isn’t a one-time event. It’s a system that needs regular upkeep. Here’s how to keep your cabinets from reverting to chaos:
Put Things Back Where They Belong
This is the most important habit. When you unload the dishwasher, put things in their designated spot. When you finish cooking, put the pot back in its cabinet. The 10 seconds it takes to put something in the right place saves you 10 minutes of searching later.
Do a Quick Reset Weekly
Spend 5 to 10 minutes once a week putting things back where they belong. Items migrate over the course of a week — a pot ends up in the wrong cabinet, a spice gets pushed to the back. A quick weekly reset prevents small messes from becoming big ones.
Reassess Every Few Months
Every three to six months, do a quick scan of your cabinets. Are there items that have migrated to the wrong zone? Are there things you haven’t used since the last check? Has your cooking routine changed?
Your organization system should adapt to how you actually live, not the other way around. If something isn’t working, change it.
One In, One Out Rule
For every new item you bring into the kitchen, remove one. New mug? Donate an old one. New pan? Get rid of the one that sticks. This prevents the slow accumulation of stuff that fills cabinets back up.
Special Considerations
Corner Cabinets
Corner cabinets are notoriously difficult to access. Options for making them functional:
- Lazy Susan — The classic solution. A turntable lets you spin items to the front.
- Pull-out shelving — Aftermarket pull-out shelves designed for corner cabinets.
- Store rarely used items — If you can’t make the space accessible, use it for things you rarely need, like holiday dishes or large serving platters.
Deep Cabinets
Deep cabinets are great for storage but terrible for finding things in the back. Solutions:
- Pull-out drawers — The best option if you can install them.
- Clear bins — Group items in clear bins that you can pull out like a drawer.
- Label the front — If you can’t see what’s in the back, label the front of the shelf or bin.
Under the Sink
Under the sink is awkward because of the plumbing, but it’s valuable storage space. Use it for:
- Cleaning supplies
- Trash bags and recycling bags
- Dish towels and sponges
- Small tools and hardware
Use a tension rod to hang spray bottles, and stack bins to make use of the vertical space around the pipes.
What Not to Store in Kitchen Cabinets
Some items don’t belong in kitchen cabinets at all:
- Medications — Heat and moisture from cooking can degrade medications. Store them in a cool, dry place outside the kitchen.
- Potatoes and onions — They need ventilation. Store them in a cool, dark, dry place, but not in a closed cabinet and not next to each other (onions cause potatoes to sprout).
- Bread — Keeps better on the counter or in a bread box. Cabinet storage can make it mold faster due to trapped moisture.
- Small appliances you never use — If you haven’t used it in a year, donate it or store it outside the kitchen.
Frequently Asked Questions
How long does it take to organize kitchen cabinets?
For a typical kitchen, expect 4 to 6 hours for a full reorganization. This includes emptying everything, decluttering, and putting it all back. Break it into sessions if you can’t do it all at once — tackle one section of cabinets per day.
Do I need to buy organizing products?
No. You can organize your cabinets using items you already have, like shoe boxes or baskets. That said, a few inexpensive organizers like shelf risers and turntables can make a big difference in how functional the space is. Start with what you have and add organizers only where you need them.
What’s the biggest mistake people make when organizing cabinets?
Keeping too much stuff. No organization system can fix an overfilled cabinet. Declutter first, organize second. If you’re struggling to fit everything in, you haven’t gotten rid of enough.
How do I organize cabinets without a pantry?
Use a designated cabinet or two for dry goods. Group items by type (baking, snacks, canned goods, etc.) and use turntables or bins to keep things accessible. If space is really tight, consider a freestanding pantry cabinet or shelving unit.
How do I keep my kids from messing up the organization?
Store the items they use most often at their height. If they can reach their own plates, cups, and snacks, they’re less likely to dig through cabinets and make a mess. Label shelves or bins with words or pictures so they know where things belong.