Garages have a way of becoming dumping grounds. You start with good intentions — a place to park the car, store a few tools, and keep the lawn mower out of the rain. Then you put something in the garage “just for now.” And another thing. And another. Before you know it, you can’t fit the car inside, you can’t find anything when you need it, and the thought of cleaning it out is so overwhelming you just close the door and walk away.
I’ve been there. My garage got so bad that I was parking in the driveway and digging through piles of stuff every time I needed a screwdriver. It wasn’t until a water leak damaged some boxes that I finally forced myself to deal with it. It took a full weekend, but when I was done, I could actually walk through the garage without tripping. I could find what I needed. And I could park my car inside again — which, it turns out, is the whole point of having a garage.
Cleaning and organizing a garage is a big job, but it’s not complicated. The process is straightforward: take everything out, decide what to keep, and put things back in a way that makes sense. The hard part is the decision-making and the physical labor. This guide breaks it down into manageable steps.
Before You Start
Choose the Right Day
Pick a weekend with good weather. You’ll need to move everything out of the garage, and you don’t want your stuff getting rained on. If the forecast looks iffy, have tarps ready.
Get Help
This is not a one-person job, especially if you have heavy items like workbenches, appliances, or large tools. Recruit a friend or family member to help with the heavy lifting and the decision-making.
Gather Your Supplies
- Heavy-duty trash bags (contractor bags)
- Cardboard boxes or plastic totes for sorting
- Labels and markers
- Basic cleaning supplies (broom, shop vacuum, all-purpose cleaner, rags)
- A folding table or sawhorses with a piece of plywood (for a temporary sorting station)
Allow Enough Time
A typical two-car garage takes 6 to 10 hours to fully clean and organize. This is not a quick tidy — it’s a complete overhaul. Plan for a full weekend, or break it into two weekends if needed.
Step 1: Empty the Garage Completely
This is the step most people want to skip. It’s tempting to try to organize by moving things from one side of the garage to the other, but that doesn’t work. You need to start with a blank slate.
- Move everything out of the garage and onto the driveway or yard.
- Group similar items together as you remove them. Put all the tools in one area, all the sports equipment in another, all the holiday decorations in another.
- If you have a lot of stuff, use chalk or tape to create zones on the driveway: Keep, Donate, Trash, and Sell.
Yes, this looks overwhelming. Your driveway will be covered in stuff. But this is the only way to see what you actually have and make decisions about each item.
Step 2: Declutter Ruthlessly
This is the most important step and the one that will make the biggest difference in your garage organization. You have to get rid of things you don’t need before you can organize what’s left.
Ask yourself these questions about each item:
- Have I used this in the last two years? If not, you probably don’t need it.
- Do I have a specific plan to use this in the next year? “Someday” is not a plan.
- Is it worth the space it takes up? Garage space is expensive — your home cost money per square foot.
- Can I easily replace this if I need it someday? If it’s cheap and readily available, let it go.
- Am I keeping it out of guilt or obligation? Gifts, inherited items, and expensive purchases you never use are not worth the space.
What to Get Rid Of
- Broken tools and equipment you’ve been “meaning to fix”
- Duplicate items (how many hammers do you really need?)
- Outgrown sports equipment and kids’ toys
- Expired chemicals, paints, and fertilizers
- Empty boxes and containers you’re saving “just in case”
- Magazines, old papers, and outdated reference materials
- Things that belong to other people (return them)
- Items you forgot you even owned
How to Dispose of Items
- Trash: Broken items, expired chemicals, worn-out materials
- Donate: Usable items to thrift stores, Habitat for Humanity ReStore, or local charities
- Sell: Valuable items through Facebook Marketplace, Craigslist, or a garage sale
- Recycle: Metal, electronics, cardboard, and other recyclables
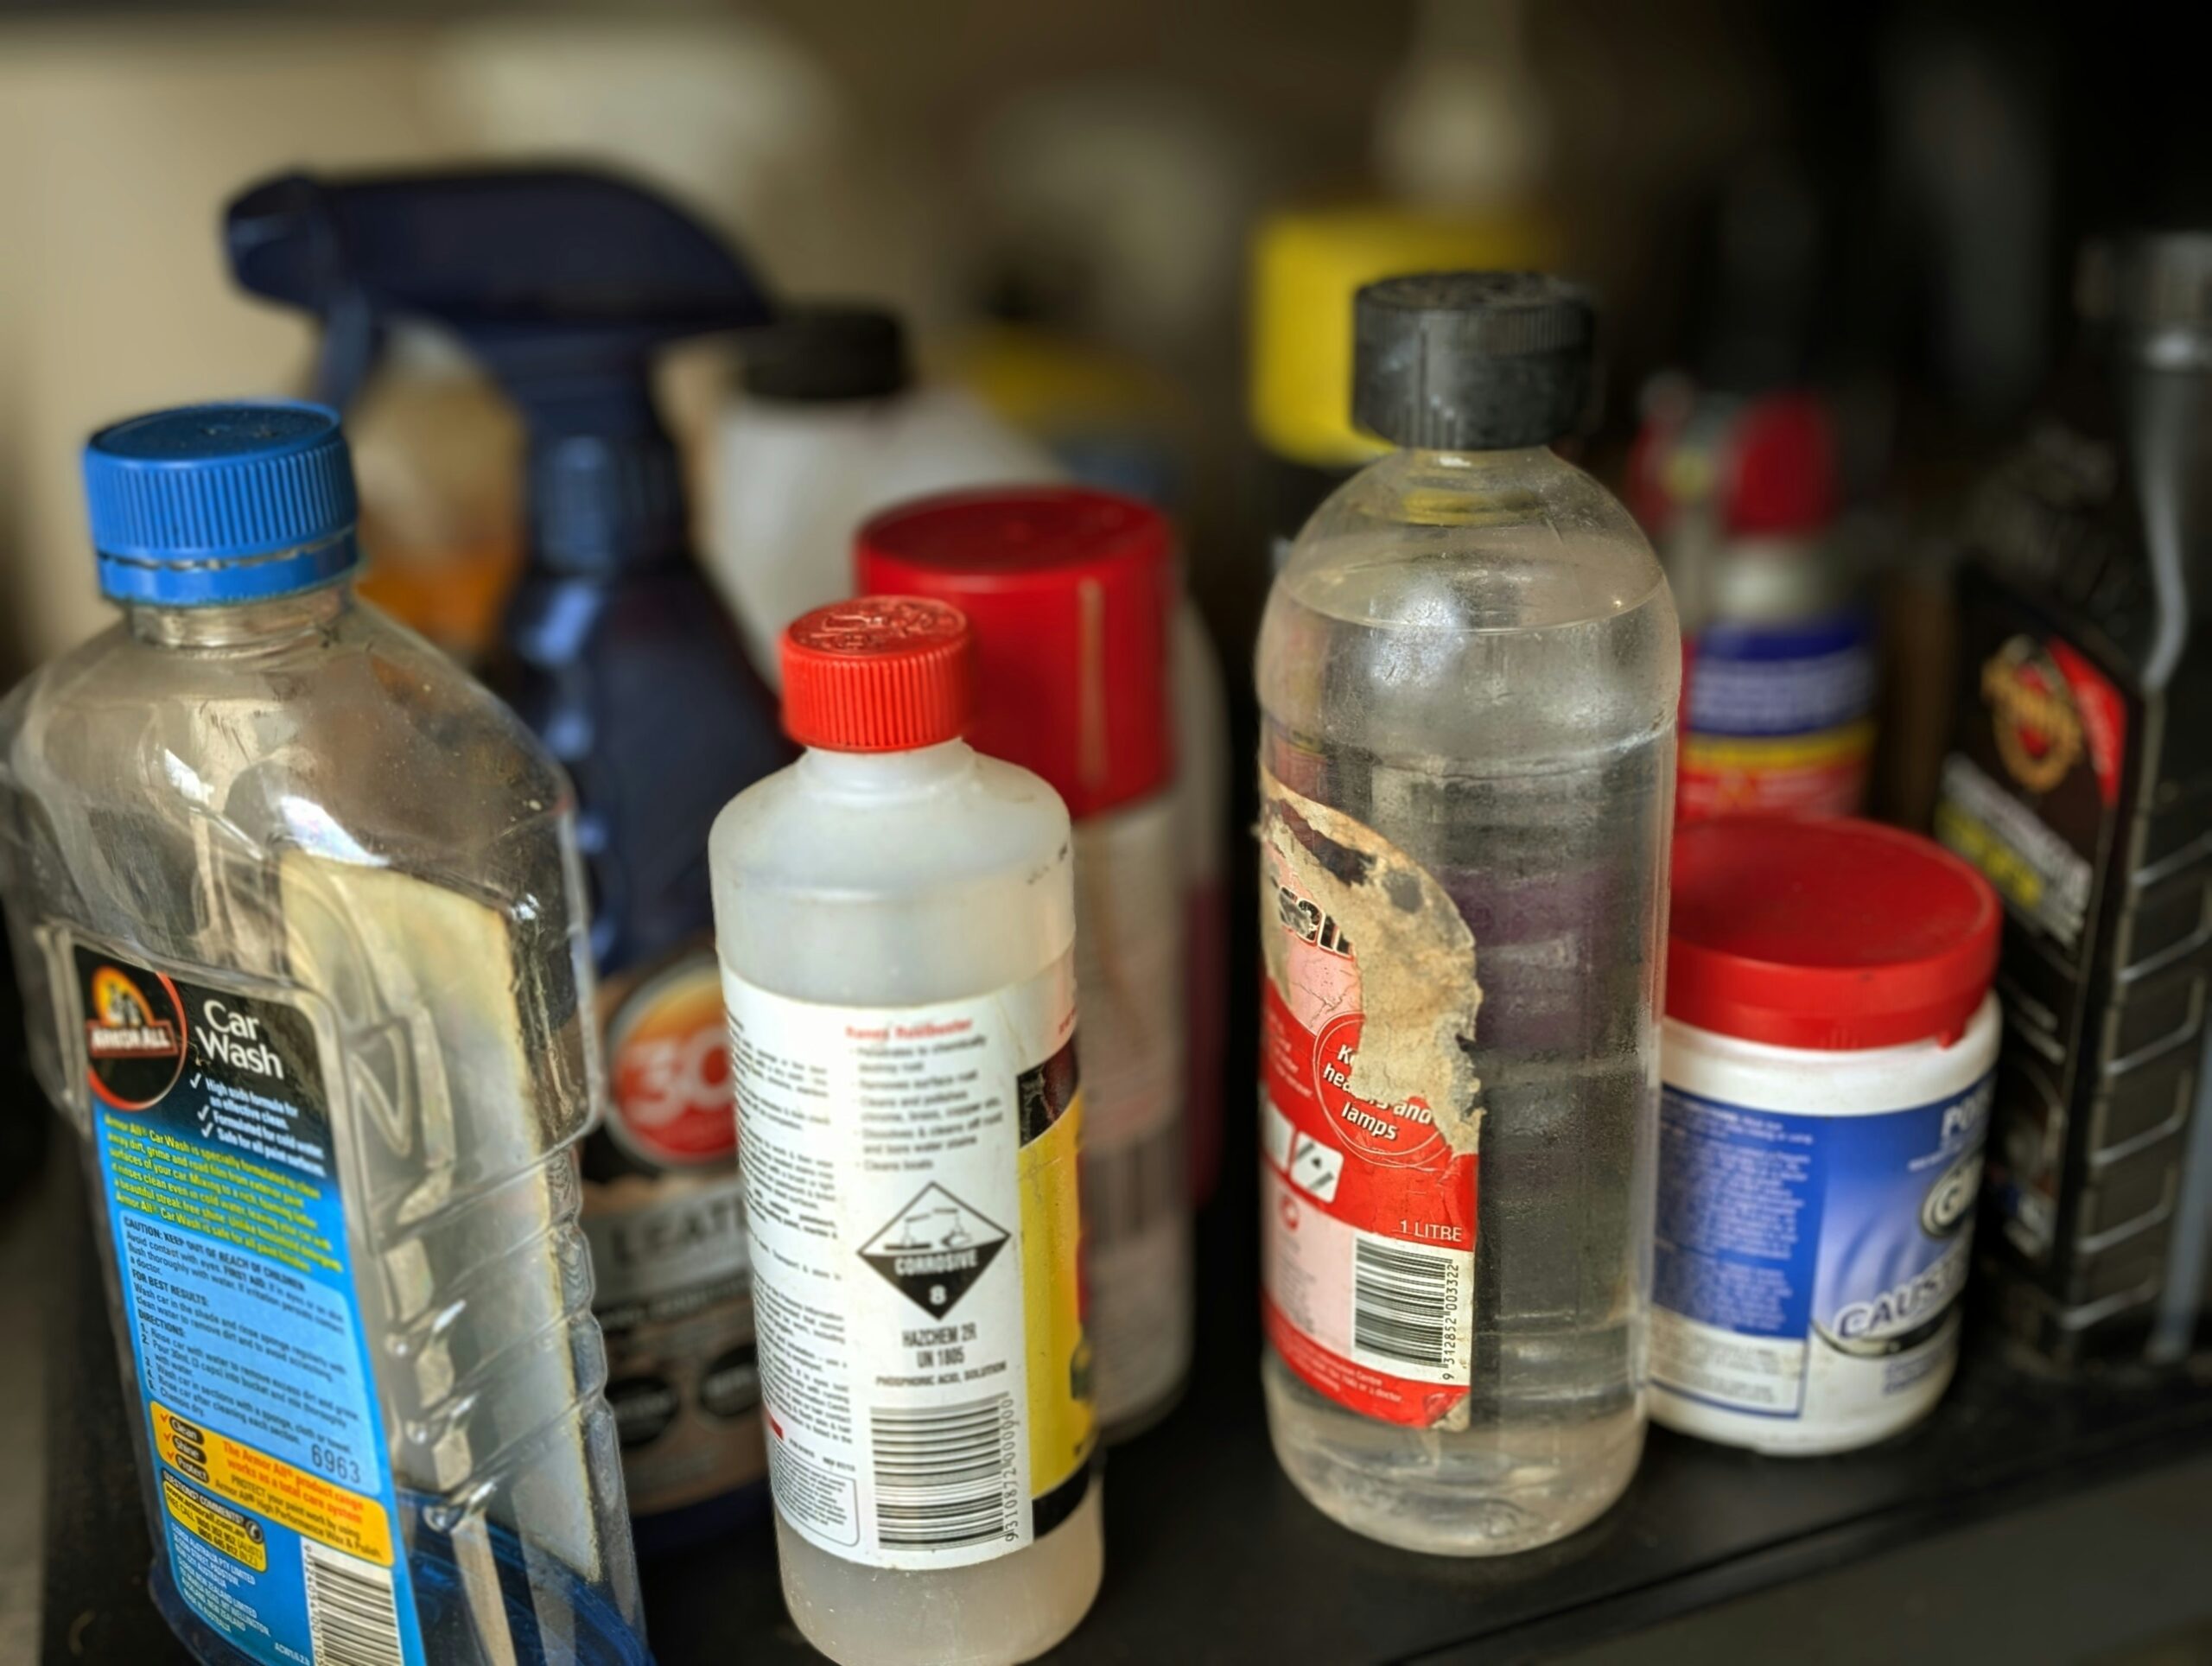
- Hazardous waste: Paints, chemicals, oils, and batteries must go to a hazardous waste facility — don’t throw them in the trash
Be aggressive with your decluttering. Most people keep far too much stuff. A good rule of thumb: if you’re unsure about an item, get rid of it. You won’t miss it.
Step 3: Clean the Garage
With the garage empty, take the opportunity to clean it thoroughly. This is the only time you’ll have easy access to every surface.
Sweep and Vacuum
Start by sweeping out all the dirt, leaves, and debris. Use a shop vacuum to get the fine dust and dirt out of corners and cracks.
Clean the Floor
- Sweep up loose debris.
- Spray the floor with a hose or pressure washer.
- Use a concrete cleaner or a mixture of dish soap and warm water.
- Scrub with a stiff-bristled broom or brush.
- Rinse thoroughly.
- Let the floor dry completely before moving anything back in.
If you have oil stains on the concrete, treat them with a dedicated concrete degreaser or a paste made from baking soda and water. Let it sit, then scrub and rinse.
Check for Pests
Look for signs of pests: droppings, nests, chewed wires or boxes, and entry points. Mice and insects love garages because they’re warm, dark, and full of hiding spots.
Seal any gaps or cracks where pests could enter. Use steel wool and caulk for small holes, and hardware cloth for larger openings.
Inspect for Damage
While the garage is empty, check for:
- Cracks in the floor or walls
- Water damage or leaks
- Damaged weatherstripping on the garage door
- Broken window panes
- Electrical issues (exposed wires, non-working outlets)
Address any problems before they get worse. A small crack in the floor is easier to fix now than a large one next year.
Step 4: Plan Your Layout
Before you put anything back, plan where things will go. Think about how you use your garage and what makes sense for your lifestyle.
Zone Planning
Divide your garage into functional zones based on how you use it:
| Zone | What Goes Here | Where |
|---|---|---|
| Parking | Cars, trucks | Center |
| Tools and Workshop | Workbench, power tools, hand tools | Near electrical outlets |
| Gardening | Lawn mower, shovels, pots, soil | Near the side door or garden access |
| Sports and Recreation | Bikes, balls, camping gear | Near the garage door for easy access |
| Seasonal Storage | Holiday decorations, winter gear | High shelves or overhead storage |
| Automotive | Car care supplies, fluids | Near the parking area |
| Household Overflow | Bulk purchases, infrequently used items | Back corners, high shelves |
Principles for a Good Layout
- Keep frequently used items accessible: Things you use weekly should be at arm level and near the door.
- Store heavy items low: Don’t put heavy boxes on high shelves — they’re hard to get down and dangerous if they fall.
- Keep the floor clear as much as possible: Use wall storage, shelves, and overhead storage to get things off the floor.
- Leave room for the car: If you want to park in the garage, make sure you actually have space for the car. Measure your car’s dimensions and mark the floor with tape so you know where it goes.
- Consider traffic flow: Can you walk from the house to the car without navigating an obstacle course?
Step 5: Install Storage Solutions
The right storage makes the difference between an organized garage and a cluttered one. You don’t need to spend a fortune, but you do need to think vertically.
Wall Storage
Walls are the most underutilized space in most garages.
Pegboards
Pegboards are cheap, versatile, and perfect for tools. Hang a pegboard above your workbench and use hooks to store frequently used tools. You can see everything at a glance, and it’s easy to rearrange as your tool collection changes.
Wall-Mounted Shelves
Install shelves on the walls to get boxes and bins off the floor. Use sturdy brackets and shelves rated for the weight you’ll be storing. Open shelving is better than closed cabinets in a garage — you can see what’s on each shelf.
Track and Hook Systems
Several companies make wall track systems with hooks that slide along the track. These are great for hanging bikes, ladders, hoses, and extension cords. They’re adjustable, so you can reconfigure as your needs change.
Slatwalls
Slatwall panels have horizontal grooves that accept various hooks, baskets, and shelves. They’re more expensive than pegboard but hold more weight and look cleaner. They’re a good option if you have a lot of items to hang.
Overhead Storage
The ceiling is wasted space in most garages. If your garage has a high ceiling, use it for items you don’t need frequently:
- Overhead shelving: Install shelves that hang from the ceiling joists. Use these for seasonal items like holiday decorations and winter sports gear.
- Overhead racks: Heavy-duty racks that mount to the ceiling can hold hundreds of pounds. Great for large, lightweight items like coolers, camping chairs, and storage bins.
- Pulley systems: Hoist systems let you raise and lower items like bikes, kayaks, and roof boxes. They keep bulky items off the floor without requiring you to lift them overhead.
Caution: Make sure overhead storage is securely mounted to the ceiling joists, not just the drywall. Follow the manufacturer’s weight limits. Don’t store heavy items overhead — if they fall, someone could be seriously injured.
Freestanding Shelving
If you don’t want to mount shelves to the walls, freestanding shelving units are a good option. Look for:
- Metal or heavy-duty plastic shelves (not lightweight plastic that will sag)
- Adjustable shelf heights
- Weight ratings that match what you’ll store
Place freestanding shelves against the walls to maximize floor space.
Cabinets
Garage cabinets look clean and hide clutter, but they’re expensive and take up floor space. If you choose cabinets, use them for items you want to keep out of sight, like automotive fluids and cleaning supplies. Make sure they’re mounted to the wall so they can’t tip over.
Step 6: Put Everything Back with Intention
Now it’s time to move things back into the garage. Do this with purpose — every item should have a designated spot.
Label Everything
Label shelves, bins, and drawers so you know what goes where. This makes it easy to find things and, more importantly, easy to put them back where they belong. Use a label maker, masking tape and a marker, or write directly on bins with a permanent marker.
Use Clear Bins
Clear storage bins let you see what’s inside without opening them. If you use opaque bins, label them on multiple sides so you can identify the contents regardless of how they’re stacked.
Group Similar Items Together
Keep all your gardening tools in one area, all your automotive supplies in another, all your sports equipment in another. This seems obvious, but it’s easy for items to migrate over time. When everything has a zone, it’s easier to put things back where they belong.
Use the Right Container for the Job
- Clear plastic bins: Seasonal decorations, camping gear, household overflow
- Small parts organizers: Screws, nails, bolts, and other hardware
- Toolboxes: Hand tools you use frequently
- Pegboards: Tools you want visible and accessible
- Hooks: Bikes, ladders, hoses, extension cords
- Shelves: Heavier items you need to access regularly
Keep a Clear Work Area
If you have a workbench, keep it clear when you’re not using it. A cluttered workbench is useless — you can’t work on projects if there’s no space to set things down. Hang tools on the pegboard above the bench and put away projects when you’re done.
Step 7: Maintain the Organization
The hardest part isn’t organizing the garage — it’s keeping it organized. These habits prevent the clutter from creeping back:
Put Things Back Where They Belong
This is the most important habit. When you finish using a tool, put it back on the pegboard. When you come back from a camping trip, unpack the gear and put it in its designated spot. The 30 seconds it takes to put something away saves you 30 minutes of searching later.
Do a Monthly Reset
Spend 15 to 30 minutes once a month putting things back where they belong. Items migrate over time — a shovel gets left near the door, a box gets moved to make room for something else. A quick monthly reset prevents small messes from becoming big ones.
Don’t Use the Garage as a Dumping Ground
It’s tempting to put things in the garage when you don’t know where else to put them. Resist this urge. If an item doesn’t have a designated spot in the garage, it doesn’t belong there. Find a proper place for it, donate it, or get rid of it.
One In, One Out
For every new item you bring into the garage, remove one. This prevents the slow accumulation of stuff that fills the garage back up.
Garage Floor Coatings
If you want to take your garage organization to the next level, consider coating the floor. A coated floor is easier to clean, resists oil and chemical stains, and looks much better than bare concrete.
Options
| Type | Cost (DIY) | Durability | Best For |
|---|---|---|---|
| Concrete paint | $0.50 – $1.50/sq ft | 1-2 years | Quick, cheap refresh |
| Epoxy coating | $2 – $5/sq ft | 5-10 years | Long-lasting professional look |
| Polyurea/polyaspartic | $3 – $7/sq ft | 10-15+ years | Premium durability |
| Interlocking tiles | $2 – $5/sq ft | 5-10 years | Easy DIY, no prep required |
Preparation Is Key
The most important part of any floor coating is the preparation. If the concrete isn’t properly cleaned and etched, the coating will peel and chip. Follow the manufacturer’s instructions carefully, and don’t skip steps.
If you’re not comfortable with the prep work, hire a professional. A poorly applied coating looks worse than bare concrete.
Frequently Asked Questions
How much does it cost to organize a garage?
It depends on how much storage you need and what type you choose. A basic organization with freestanding shelves, pegboard, and hooks costs $200 to $500. A more comprehensive setup with wall track systems, overhead storage, and cabinets costs $1,000 to $3,000 or more. You can start with the basics and add storage over time.
How long does it take to clean and organize a garage?
For a typical two-car garage, expect 6 to 10 hours. This includes emptying the garage, decluttering, cleaning, and reorganizing. If your garage is extremely cluttered or you’re installing a lot of storage, it may take longer. Break it into multiple sessions if needed.
What’s the best way to store bikes in a garage?
The best method depends on how often you use them and how many bikes you have. Options include: wall hooks (cheap and easy, but you have to lift the bike), horizontal wall racks (bike hangs parallel to the wall), vertical wall racks (bike hangs perpendicular to the wall, saving more space), and ceiling hoists (bike is raised to the ceiling, keeping it completely out of the way). For kids’ bikes that are used daily, use low hooks so they can hang up their own bikes.
Should I insulate my garage?
It depends on how you use it. If you use the garage as a workshop or spend a lot of time there, insulation makes it more comfortable year-round. If it’s just for parking and storage, insulation may not be worth the cost. If your garage is attached to the house, insulating the wall between the garage and the house is a good idea for energy efficiency, even if you don’t insulate the rest of the garage.
How do I keep pests out of my garage?
Seal all gaps and cracks, especially where pipes and wires enter the garage. Install weatherstripping on the garage door and side door. Keep food (including birdseed and pet food) in sealed containers. Don’t store cardboard boxes directly on the floor — use plastic bins instead. Set traps in corners and along walls where mice travel. Check the garage regularly for signs of pests and address problems promptly.