Most people clean the lint screen in their dryer after every load. That’s good — it helps your dryer work efficiently and prevents some lint from accumulating. But the lint screen only catches a fraction of the lint your dryer produces. The rest gets pushed into the dryer vent, the metal tube that carries hot, moist air from your dryer to the outside of your home.
Over time, that lint builds up inside the vent. It restricts airflow, makes your dryer work harder, and creates a serious fire hazard. According to the U.S. Fire Administration, there are approximately 2,900 dryer fires reported each year, and the leading cause is failure to clean the dryer vent.
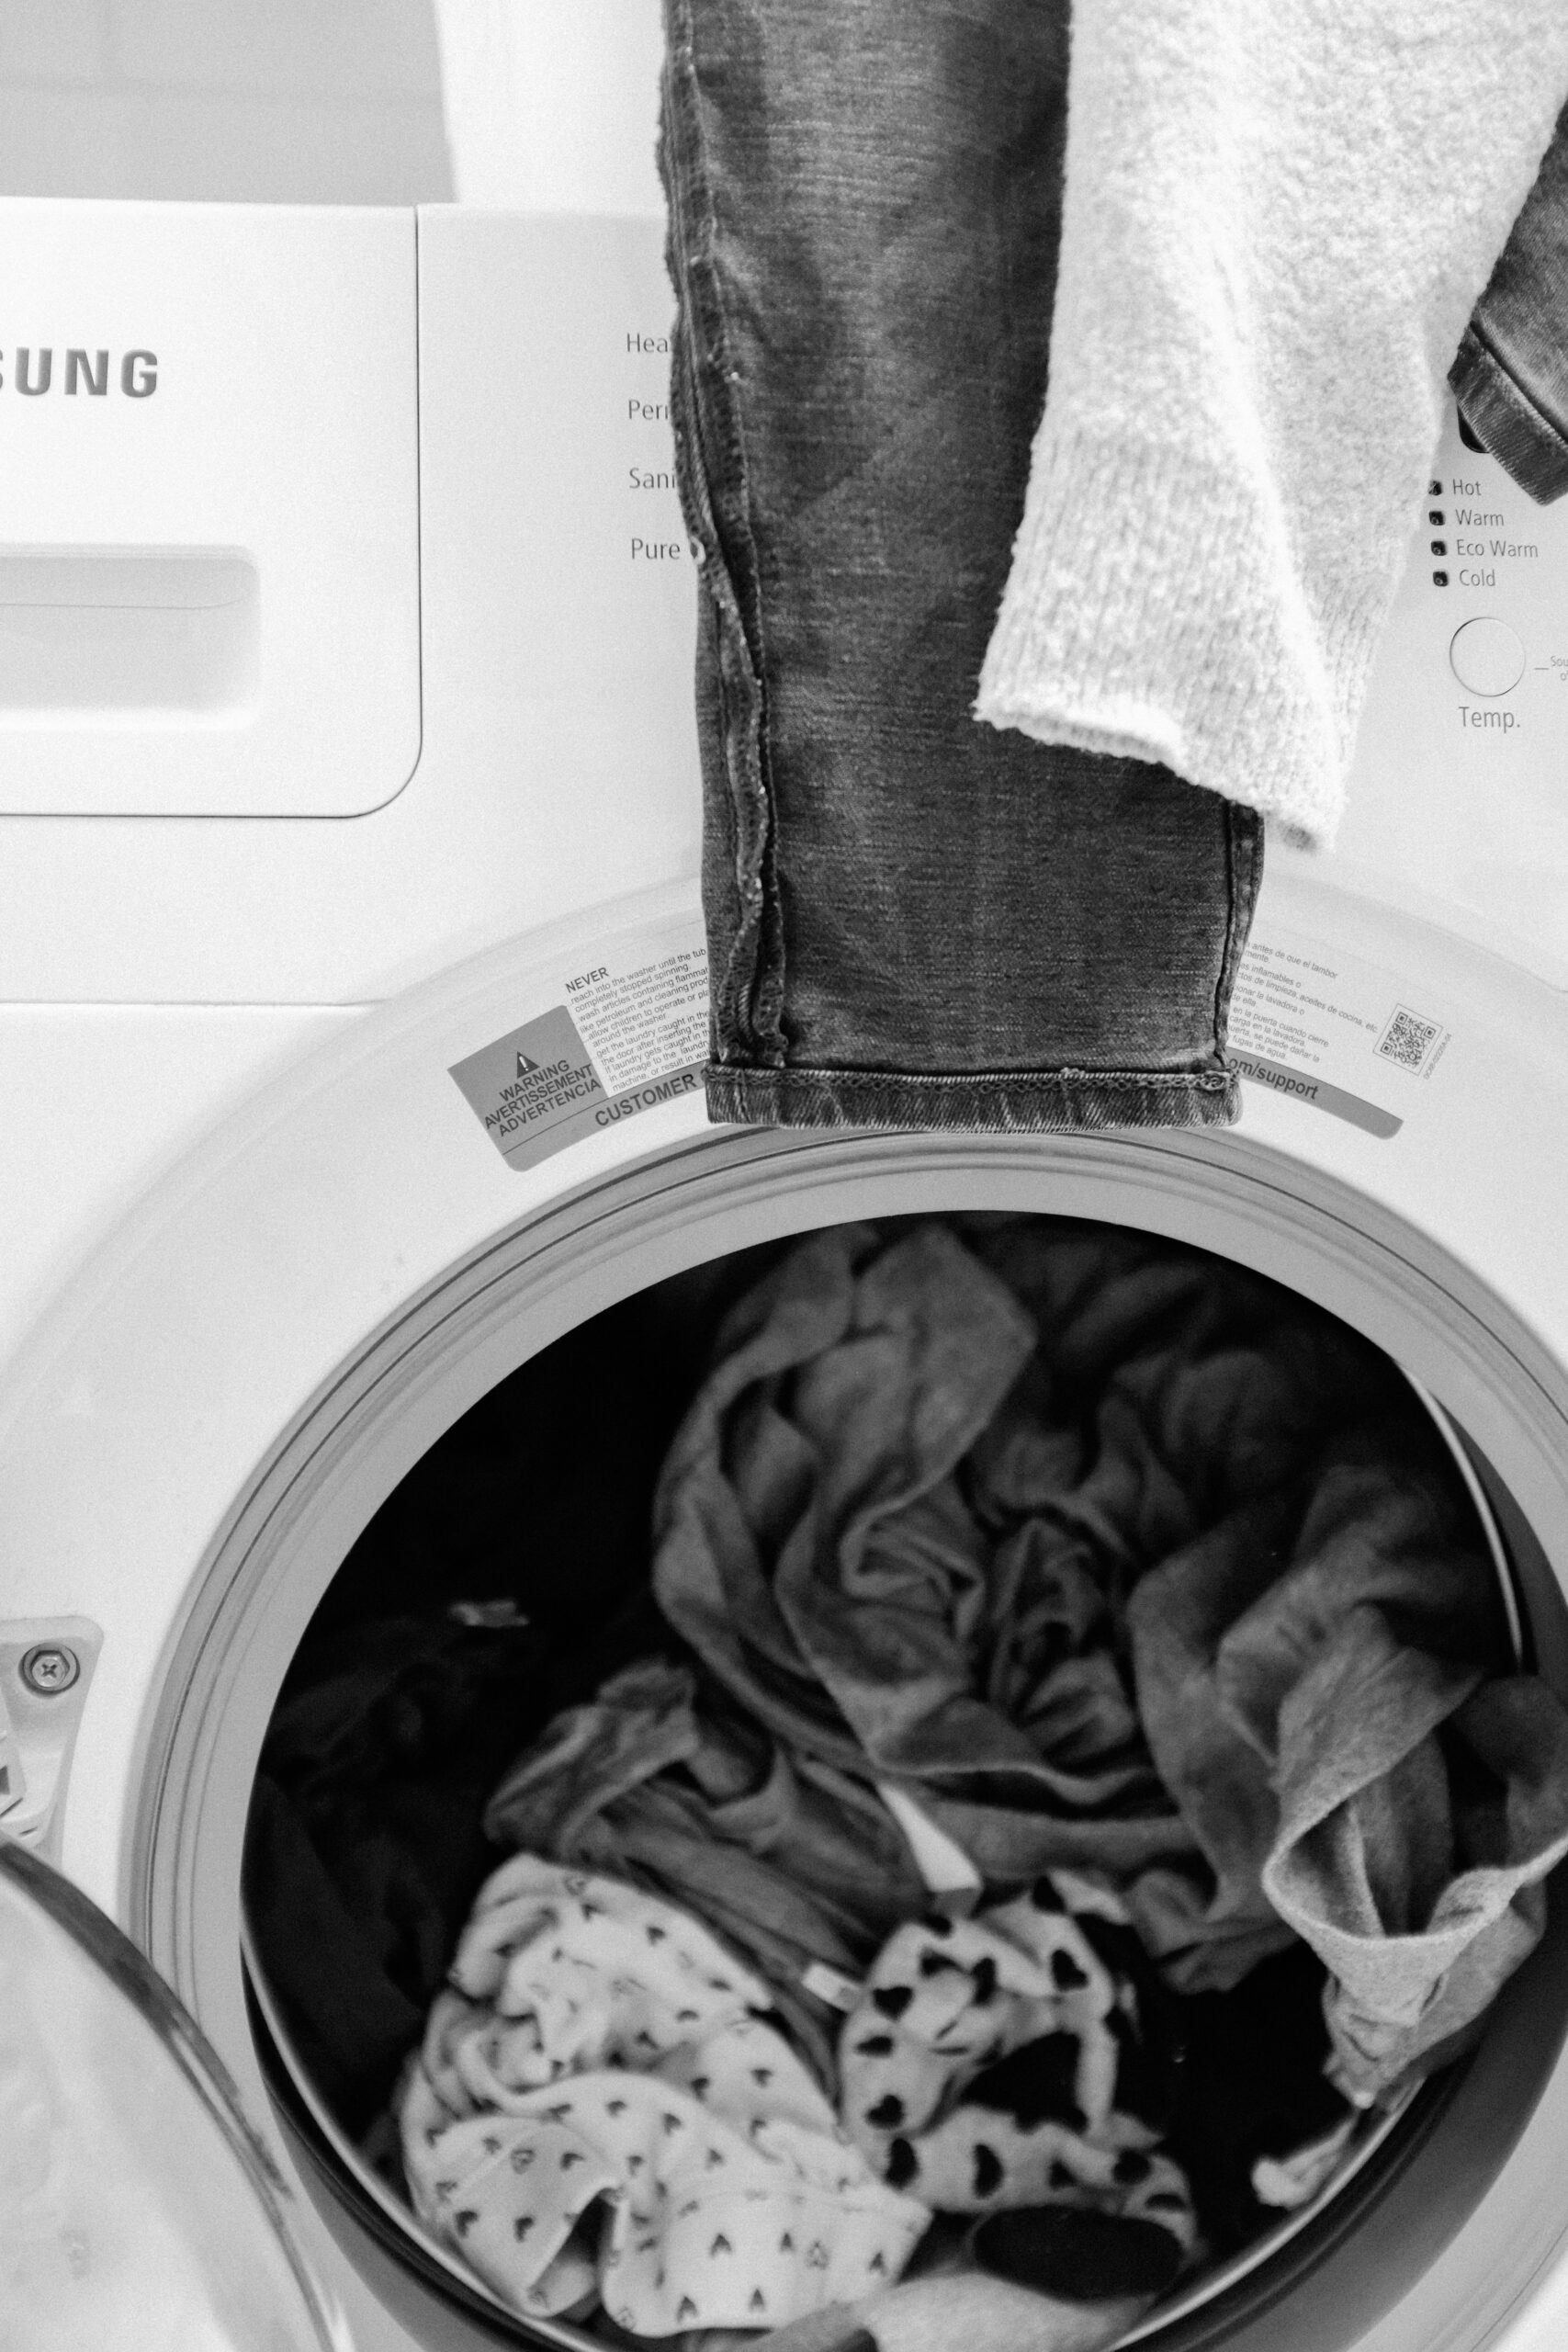
I’ll admit I didn’t think about my dryer vent for the first five years I owned my home. It was behind the dryer, out of sight, and I assumed the lint screen was doing the whole job. Then my dryer started taking two cycles to dry a load of towels. A friend asked when I’d last cleaned the vent, and I realized I never had. When I finally pulled the dryer away from the wall and disconnected the vent, I pulled out enough lint to fill a garbage bag. It was packed tight, and it was a miracle it hadn’t caught fire.
Cleaning your dryer vent isn’t hard, and it doesn’t take long. This guide shows you how to do it safely and thoroughly.
Signs Your Dryer Vent Needs Cleaning
Don’t wait for a fire to find out your vent is clogged. These warning signs tell you it’s time to clean it:
- Clothes take longer to dry — If a normal load takes two cycles to dry, the vent is likely restricted. This is the most common sign.
- The dryer is hot to the touch — If the outside of the dryer feels unusually hot during a cycle, heat isn’t escaping properly.
- The laundry room feels hot and humid — Moist air isn’t making it outside if the vent is blocked.
- A burning smell during drying — Lint is highly flammable. If you smell something burning, stop the dryer immediately and check the vent.
- Visible lint around the dryer door seal — Excess lint escaping the drum means there’s too much lint in the system.
- The outdoor vent hood doesn’t open properly — When the dryer is running, the flap on the outdoor vent should open freely. If it doesn’t, lint is blocking airflow.
- It’s been more than a year — Even if you don’t notice any warning signs, clean the vent annually.
What You’ll Need
- A dryer vent cleaning brush (a long, flexible brush designed for this purpose — available at hardware stores for $15 to $30)
- A vacuum with a hose attachment
- A screwdriver (to disconnect the vent)
- A trash bag
- Work gloves
- A helper (optional, but useful for pushing the brush from one end while you pull from the other)
If you don’t want to buy a dryer vent brush, you can hire a professional dryer vent cleaning service. Expect to pay $100 to $200. But if you’re comfortable doing basic home maintenance, this is a task you can do yourself.
Step 1: Pull the Dryer Away from the Wall
You need access to the back of the dryer and the vent connection.
- Turn off the dryer. If it’s a gas dryer, also turn off the gas supply.
- Unplug the dryer from the wall outlet. If it’s a gas dryer, don’t disturb the gas line — just turn off the gas valve.
- Carefully pull the dryer away from the wall. Don’t pull it too far — you just need enough room to access the vent connection behind it.
- Check the floor behind the dryer for lint accumulation and clean it up.
Step 2: Disconnect the Vent from the Dryer
The vent is a flexible metal or foil tube that connects the dryer exhaust to the wall vent.
- Locate the clamp that holds the vent to the dryer exhaust. It’s usually a circular clamp tightened with a screw.
- Loosen the screw with a screwdriver and slide the clamp back on the vent.
- Gently pull the vent off the dryer exhaust. Some lint may fall out — that’s normal.
- If the vent is also connected to the wall with a clamp, disconnect that end too. If it’s a rigid pipe that goes into the wall, leave that end connected for now.
Inspect the vent tube. If it’s made of white plastic or vinyl, it’s a fire hazard and should be replaced immediately with rigid or semi-rigid metal ducting. Plastic and vinyl vents are no longer code-compliant because they can melt or catch fire.
Step 3: Clean the Vent from the Dryer End
- Insert the dryer vent brush into the vent opening where it connects to the wall.
- Push the brush in slowly, rotating it as you go. The brush will dislodge lint from the walls of the vent.
- Pull the brush back out. It will bring lint with it.
- Use the vacuum hose to suck up the loosened lint at the opening.
- Repeat this process, pushing the brush further into the vent each time, until you’ve reached the outdoor vent hood or can’t push any further.
If your vent is very long (more than about 10 feet) or has multiple bends, you may not be able to reach the entire length from one end. That’s where cleaning from the outdoor end becomes necessary.
Step 4: Clean the Vent from the Outdoor End
- Go outside and locate the dryer vent hood. It’s usually a few feet off the ground on an exterior wall.
- Remove the vent hood cover if possible. Most have a few screws holding them in place.
- Insert the dryer vent brush into the opening and push it toward the dryer, rotating as you go.
- Pull the brush back out and remove the lint.
- Repeat until the brush moves freely through the entire length of the vent.
If you have a helper, one person can push the brush from the outdoor end while the other person pulls it from the indoor end. This makes it easier to get through the entire vent, especially if there are bends.
Step 5: Clean Inside the Dryer
While you have the dryer pulled out, clean the area where the lint screen sits and the exhaust opening on the back of the dryer.
- Remove the lint screen.
- Use the vacuum hose to clean inside the lint screen slot. Lint accumulates below the screen where you can’t see it.
- Vacuum the exhaust opening on the back of the dryer.
- If you can access the inside of the dryer cabinet (some models have a removable front or back panel), vacuum any lint inside. Check your owner’s manual for instructions on opening the cabinet.
Step 6: Clean the Outdoor Vent Hood
- Remove any lint or debris from the vent hood opening.
- Check the flap or louvers — they should move freely. If they’re stuck with lint, clean them.
- Make sure no pests have built nests in the vent hood. Birds and rodents sometimes nest in warm dryer vents during cold weather.
- If the vent hood is damaged or the flap doesn’t close properly, replace it. A vent hood that stays open lets cold air into your home and pests into the vent.
Step 7: Reconnect the Vent and Test
- Reattach the vent to the dryer exhaust and the wall connection.
- Tighten the clamps securely. The connections should be snug but don’t overtighten — you can crush a flexible vent if you clamp it too hard.
- Push the dryer back into position. Don’t crush the vent against the wall — leave a few inches of space so the vent isn’t kinked.
- Plug the dryer back in and turn on the gas if applicable.
- Run the dryer on a no-heat or air-fluff cycle for about 10 minutes. This blows out any remaining loose lint.
- Go outside and check the vent hood while the dryer is running. You should feel a strong flow of warm, moist air coming out. The flap should be fully open. If airflow is weak, there may still be a blockage.
How Often Should You Clean Your Dryer Vent?
| Situation | Recommended Frequency |
|---|---|
| Normal use (1-2 loads per week) | Once a year |
| Heavy use (daily loads, large family) | Every 6 months |
| Long vent run (more than 10 feet) | Every 6 months |
| Vent with multiple bends | Every 6 months |
| After any dryer performance issues | Immediately |
Even if you don’t notice any problems, clean the vent at least once a year. It’s a small investment of time that significantly reduces your fire risk.
Dryer Vent Safety Rules
Beyond regular cleaning, follow these safety practices:
Always Clean the Lint Screen Before Every Load
This takes five seconds and is the most basic dryer maintenance task. A clogged lint screen restricts airflow and makes your dryer work harder.
Never Run the Dryer When You’re Not Home
If a fire starts, you need to be there to respond. Don’t run the dryer while you’re sleeping or away from home.
Don’t Dry Items with Rubber, Plastic, or Foam
Rubber-backed rugs, plastic shower caps, foam pillows, and items with foam padding shouldn’t go in the dryer. These materials can melt or ignite.
Use the Right Vent Material
If you’re installing a new dryer vent or replacing an old one, use rigid or semi-rigid metal ducting. Never use plastic or vinyl vents. They’re a fire hazard and are not code-compliant in most areas.
Keep the Vent as Short and Straight as Possible
Every bend and foot of length reduces airflow and increases lint accumulation. If you’re installing a new vent, plan the route to minimize bends. The total length shouldn’t exceed 25 feet (and each 90-degree bend counts as 5 feet).
Don’t Use Screws to Connect Vent Sections
Screws protrude into the vent and catch lint. Use foil tape to seal the connections between sections of rigid ductwork.
Don’t Vent Into the Attic or Crawlspace
The vent must go to the outside. Venting into an enclosed space introduces moisture that causes mold and rot, and the lint accumulation is a fire hazard.
Rigid vs. Semi-Rigid vs. Flexible Vents
If you need to replace your dryer vent, here’s how the options compare:
| Type | Pros | Cons | Best For |
|---|---|---|---|
| Rigid metal | Best airflow, least lint buildup, most fire-resistant | Harder to install, can’t bend around obstacles | Long vent runs, new construction |
| Semi-rigid metal | Good airflow, some flexibility, fire-resistant | More expensive than flexible | Short to medium runs with a few bends |
| Flexible metal foil | Easy to install, fits tight spaces | Can be crushed, collects more lint | Very short, straight connections |
| Flexible plastic/vinyl | Cheap, easy to install | Fire hazard — not code compliant | Never use for dryer vents |
If your current vent is plastic or vinyl, replace it before using the dryer again. It’s not worth the risk.
Frequently Asked Questions
Can I use a leaf blower to clean my dryer vent?
Some people do this by disconnecting the vent from the dryer, putting the leaf blower nozzle in the opening, and blowing the lint out the outdoor vent. It can work, but it also can push lint into areas you can’t reach or damage the vent connections if the pressure is too high. A dryer vent brush is a safer, more controlled method.
How much does professional dryer vent cleaning cost?
Expect to pay $100 to $200 for a professional cleaning. Some companies include dryer vent cleaning as part of a broader HVAC service package. If your vent is very long, has multiple bends, or goes through a wall or roof, professional cleaning is worth the cost because they have specialized equipment to reach the entire length.
Why does my dryer vent keep clogging?
If you’re cleaning the vent regularly and it still clogs frequently, check these things: You might be overloading the dryer, which forces more lint into the vent. The vent might be too long or have too many bends. The outdoor vent hood might be partially blocked by landscaping or pests. Or the vent material might be wrong — flexible vents collect lint faster than rigid ones.
Can I clean my dryer vent myself?
Yes, if the vent is accessible and reasonably short (under 10 feet with minimal bends). You need a dryer vent brush and a vacuum. If the vent goes through walls, the roof, or is longer than you can reach with a brush, hire a professional.
How long does it take to clean a dryer vent?
For a typical residential dryer with an accessible vent, expect 30 to 60 minutes. This includes pulling the dryer out, disconnecting the vent, cleaning, and reassembling. The first time takes longer because you’re figuring out the setup. After that, it goes faster.