Caulk is one of those things you never think about until it starts failing. Then you can’t stop noticing it. The rubbery strip between your bathtub and the wall turns yellow, cracks, peels away in strips, and grows black mold in the gaps. Every time you shower, water seeps behind the failing caulk and soaks into the wall or floor underneath.
I ignored the failing caulk in my shower for a long time. I told myself it was just a cosmetic issue. Then one day I noticed the paint on the wall outside the bathroom was bubbling. Water had been getting behind the caulk, running down the wall studs, and soaking through to the other side. A $10 tube of caulk and 30 minutes of work could have prevented hundreds of dollars in water damage.
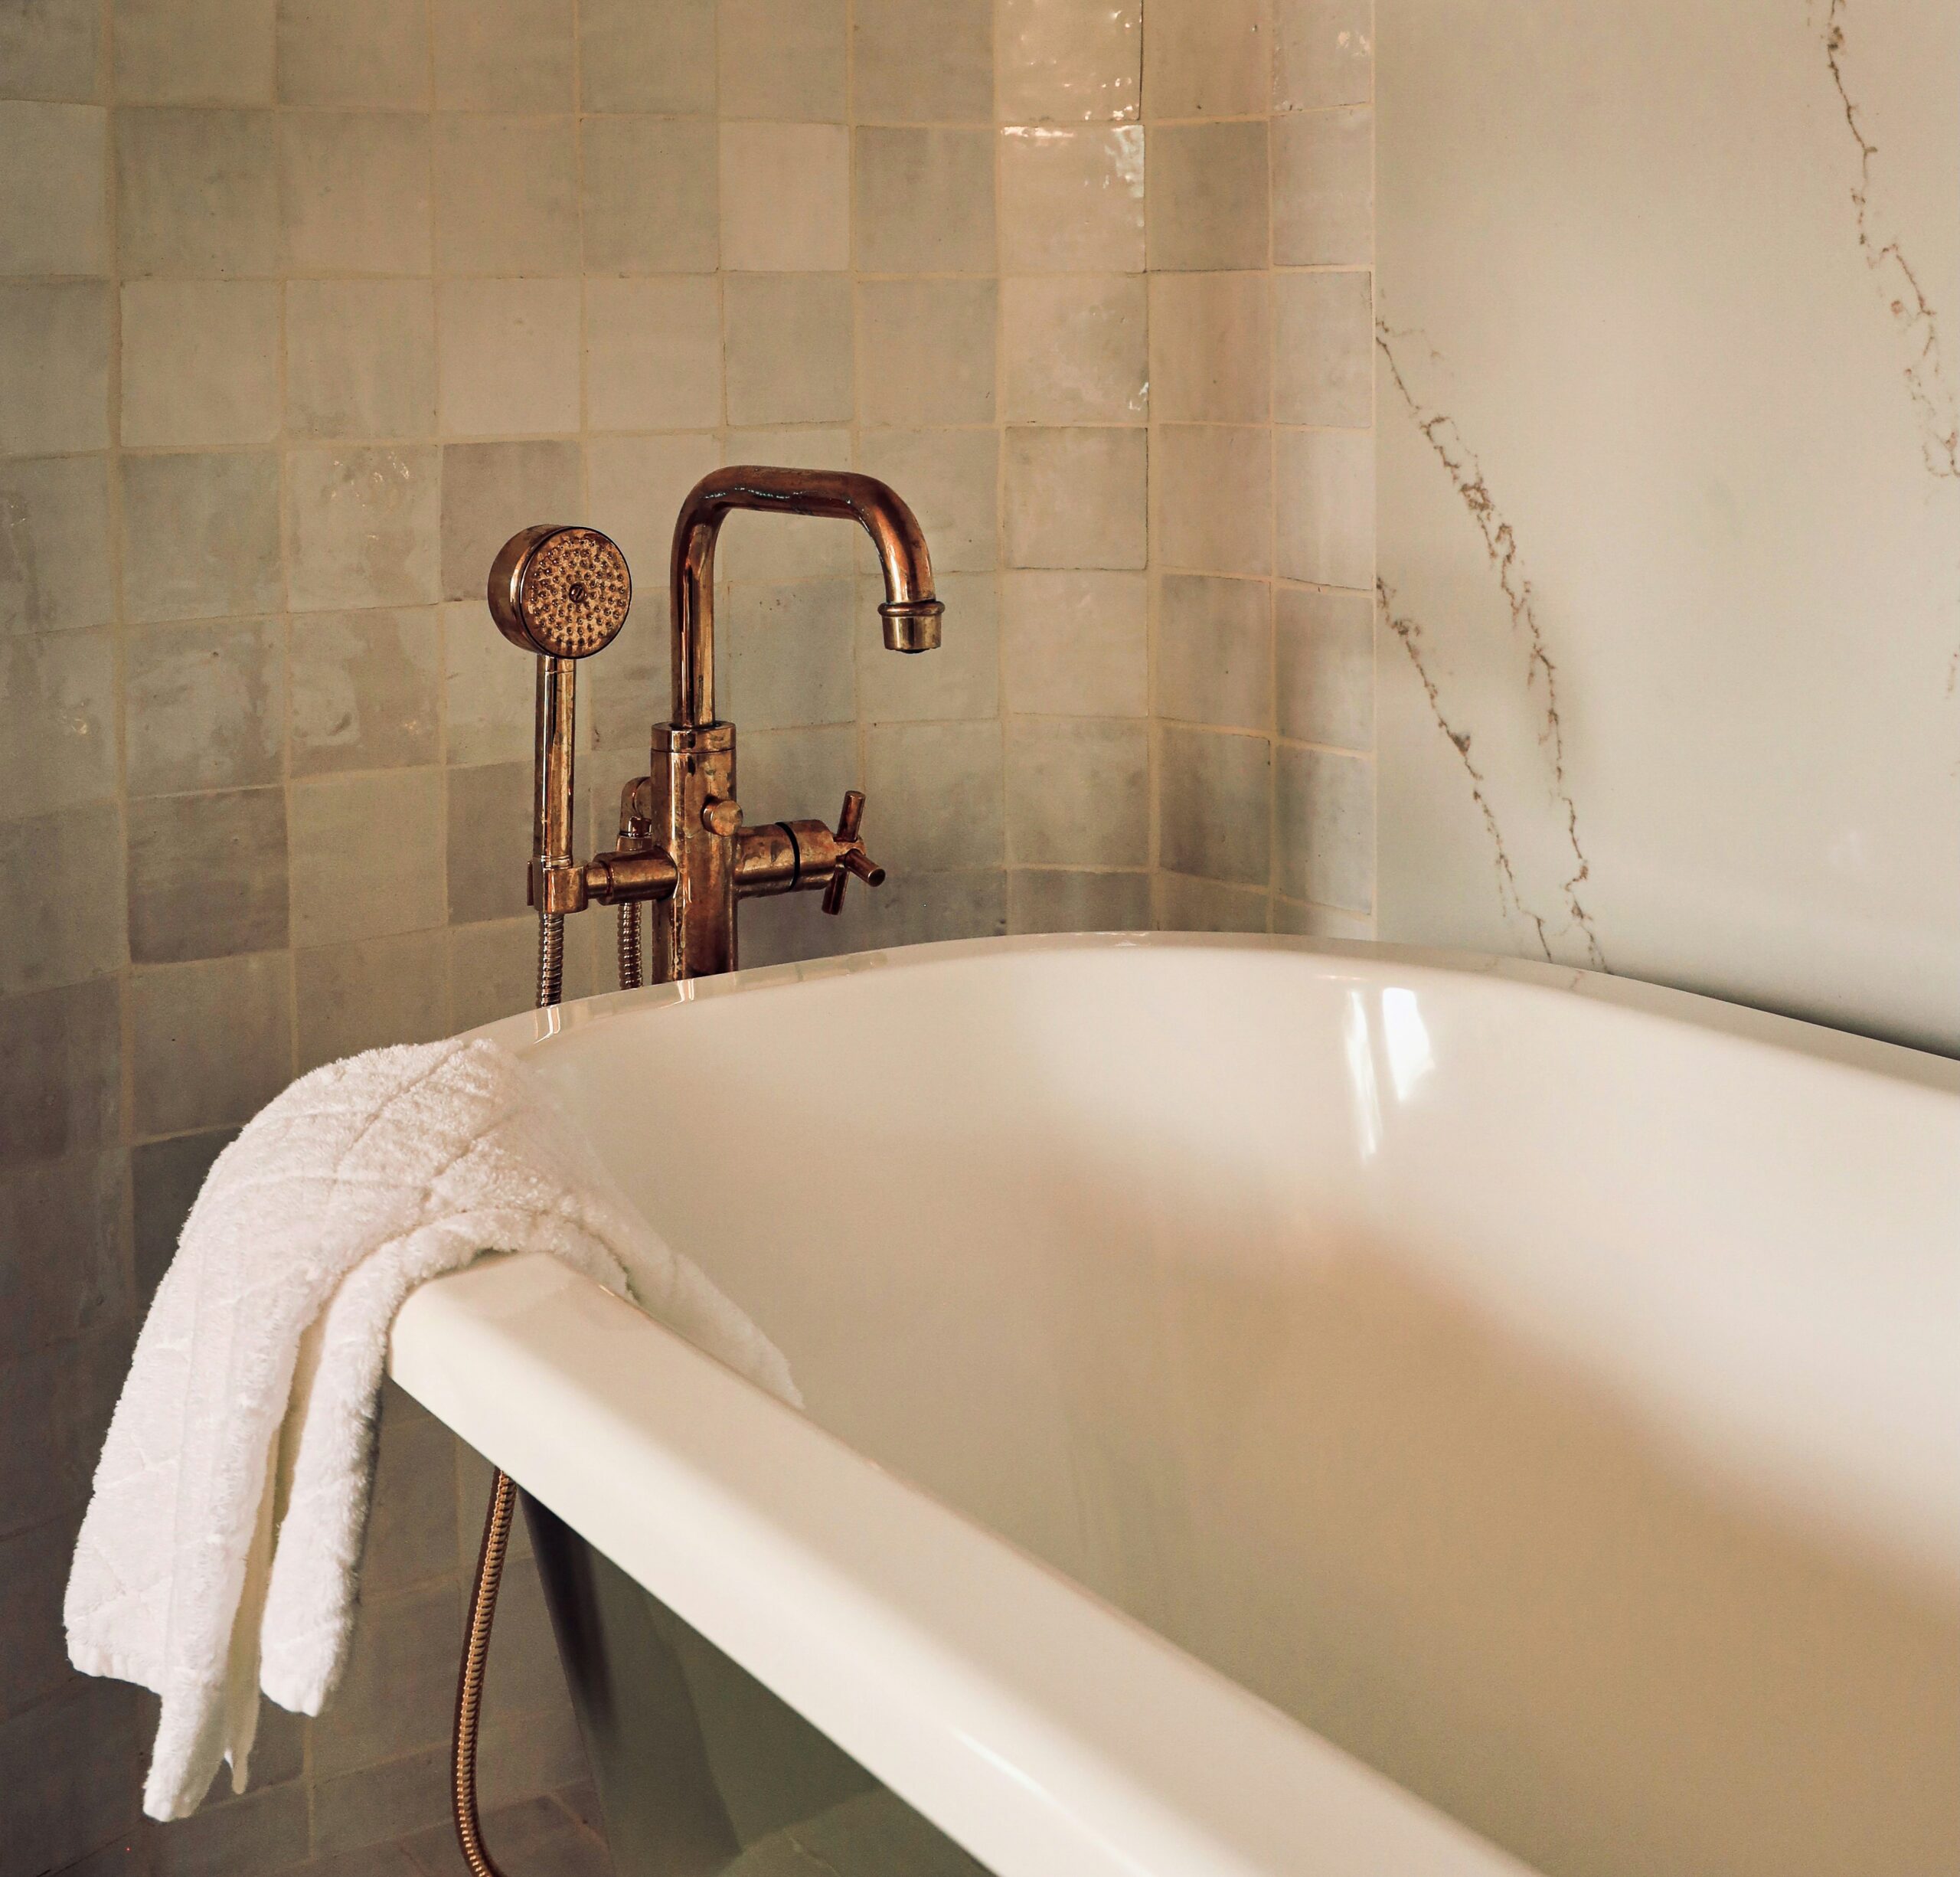
Recaulking a bathtub or shower is one of the most satisfying home repairs you can do. It costs almost nothing, requires no special skills, and the results are immediately visible. A fresh bead of bright white caulk makes a bathroom look clean and well-maintained, even if nothing else has changed.
This guide covers how to remove old caulk, how to apply new caulk so it looks professional, and how to choose the right caulk for the job.
Why Caulk Fails
Caulk doesn’t last forever. Most bathroom caulk lasts 5 to 10 years before it needs to be replaced. It fails for several reasons:
- Age — Caulk dries out, loses elasticity, and cracks over time.
- Mold and mildew — Bathroom caulk is constantly exposed to moisture. Even mildew-resistant caulk can develop mold over time.
- Movement — Tubs and showers flex slightly when you step in them. This movement stresses the caulk and causes it to separate from the wall or tub.
- Poor preparation — If the old caulk wasn’t fully removed or the surface wasn’t clean and dry before new caulk was applied, it won’t adhere properly.
- Wrong type of caulk — Using the wrong type of caulk (like painter’s caulk or silicone in a wet area where it won’t adhere properly) leads to premature failure.
Step 1: Choose the Right Caulk
Not all caulk is the same. Using the wrong type is one of the most common mistakes people make.
Types of Caulk for Bathrooms
| Type | Pros | Cons | Best For |
|---|---|---|---|
| 100% Silicone | Waterproof, flexible, durable | Hard to apply smoothly, can’t be painted | Tubs, showers, anywhere that gets wet |
| Silicone/Acrylic Blend | Easier to apply than pure silicone, water-resistant | Less durable than pure silicone | Tubs and showers if you want easier application |
| Acrylic Latex | Easy to apply, paintable, cheap | Not waterproof, will fail in wet areas | Baseboards, trim, dry areas only |
My Recommendation
For bathtubs and showers, use 100% silicone caulk labeled for kitchen and bath use. It’s the most waterproof and durable option. Look for caulk that’s specifically labeled as “tub and tile” or “kitchen and bath.”
Don’t use acrylic latex caulk in a shower or tub. It’s not waterproof and will fail within months.
Color
Caulk comes in several colors, most commonly white, clear, and almond. Choose a color that matches your tub, tile, or grout.
If you’re not sure what color to get, white is the safest choice for most bathrooms.
Do You Need a Caulk Gun?
Yes, for standard tubes of caulk. If you don’t own a caulk gun, you can buy one for about $5 to $10 at any hardware store.
Alternatively, some brands sell caulk in squeeze tubes that don’t require a gun. These are easier for small jobs but more expensive per ounce.
Step 2: Remove the Old Caulk
This is the most important step. Do not apply new caulk over old caulk. It won’t adhere properly, it will look terrible, and it will fail quickly.
Soften the Old Caulk
Old caulk is easier to remove if you soften it first.
-
Apply caulk remover (available at hardware stores for about $5) to the old caulk. Let it sit for the time specified on the bottle — usually 15 to 30 minutes.
-
Alternatively, use vinegar. Soak paper towels in white vinegar and press them against the old caulk. Let them sit for 15 to 30 minutes. Vinegar helps break down the caulk.
Remove the Old Caulk
-
Use a caulk removal tool (about $5 at hardware stores) or a plastic putty knife to scrape away the old caulk. Start at one end and work your way along the joint, pushing the tool under the caulk and pulling it up.
-
Use a utility knife for stubborn sections. Carefully cut along both edges of the caulk bead, then pull it out with needle-nose pliers.
-
Remove all the old caulk. Every bit. If you leave fragments behind, the new caulk won’t adhere properly.
-
Scrub the surface with an old toothbrush and a mixture of water and dish soap to remove any remaining caulk residue, soap scum, and grime.
-
Remove any mold. If there’s black mold on the surface, scrub it with a solution of 1 part bleach to 10 parts water. Let it sit for 10 minutes, then scrub and rinse.
Caution: Never mix bleach and vinegar — it produces toxic chlorine gas.
Dry the Area Completely
This is critical. Caulk will not adhere to a wet surface.
-
Dry the area with a towel.
-
Wait at least 24 hours after showering before applying new caulk. The surface needs to be completely dry.
-
If you’re in a hurry, use a hair dryer on a low, cool setting to speed up drying. Don’t use heat — it can damage some surfaces.
Step 3: Prepare for Caulking
Mask the Area (Optional but Recommended)
Applying painter’s tape along both sides of the joint creates clean, straight lines and makes the job look much more professional.
-
Apply painter’s tape (blue or green) about 1/8 inch from the joint on both sides. The gap between the tape strips should be slightly wider than the joint.
-
Press the tape down firmly along the edges to prevent caulk from seeping underneath.
-
Don’t skip this step if you’re a beginner. Tape makes a huge difference in the quality of the result.
Cut the Caulk Tube Tip
-
Cut the tip of the caulk tube at a 45-degree angle. Use a utility knife or scissors.
-
Cut the tip to the right size. The hole should be slightly smaller than the joint you’re filling. You can always cut more off, but you can’t put it back.
-
Pierce the inner seal. Some tubes have a foil seal inside the tip. Use a long nail or the piercing tool on your caulk gun to break the seal.
Step 4: Apply the Caulk
Load the Caulk Gun
-
Pull the plunger back by pressing the release lever and pulling the rod all the way back.
-
Insert the tube into the gun with the tip pointing forward.
-
Push the plunger forward until it contacts the bottom of the tube.
-
Squeeze the trigger a few times until caulk starts to come out of the tip.
Apply the Caulk
-
Start at one end of the joint. Place the tip of the tube into the corner where the tub meets the wall (or the wall meets the shower pan).
-
Hold the gun at a 45-degree angle to the joint.
-
Apply steady, even pressure on the trigger while moving the gun along the joint at a consistent speed. The goal is to fill the joint completely with a smooth, even bead of caulk.
-
Move at a steady pace. If you move too fast, the bead will be too thin. If you move too slow, the bead will be too thick and messy.
-
Don’t stop and start. Try to apply the caulk in one continuous bead along each section. Stopping and starting creates uneven spots.
-
Release the trigger pressure before you reach the end of the joint. The caulk that’s already in the tip will continue to flow for a moment.
-
Release the plunger (press the release lever) when you stop. This stops the flow of caulk so it doesn’t continue to ooze out.
How Much Caulk to Apply
The bead should fill the joint completely and bulge out slightly. You’ll smooth it out in the next step, so it’s okay if it’s a little thick. But don’t apply too much — excess caulk is messy and hard to clean up.
Step 5: Smooth the Caulk
Smoothing the caulk is what separates a professional-looking job from an amateur one. This step presses the caulk into the joint, creates a smooth surface, and removes excess.
When to Smooth
Smooth the caulk immediately after applying it, before it starts to skin over. You have about 5 to 10 minutes with most silicone caulks.
How to Smooth
Method 1: Use Your Finger (Simplest)
-
Wet your finger with water or a solution of water and a few drops of dish soap. The soap prevents the caulk from sticking to your finger.
-
Run your finger along the bead in one smooth motion, pressing the caulk into the joint and smoothing the surface.
-
Wipe excess caulk off your finger with a paper towel.
-
Repeat if needed to get a smooth, even bead.
Method 2: Use a Caulking Tool (Cleaner)
A caulking tool (also called a caulk smoother or finishing tool) has different sized edges that create a consistent, smooth bead.
-
Choose the edge size that matches your joint.
-
Run the tool along the bead in one smooth motion.
-
Wipe the tool clean between passes.
Method 3: Use a Spoon
A plastic spoon works in a pinch. Run the back of the spoon along the bead to smooth it.
Remove the Tape
If you used painter’s tape, remove it immediately after smoothing the caulk. Don’t wait for the caulk to dry.
-
Pull the tape away at a 45-degree angle, pulling back toward yourself.
-
Pull slowly to avoid disturbing the caulk.
-
If the caulk pulls up with the tape, use a utility knife to gently cut the caulk along the edge of the tape before removing it.
-
Smooth the edge again with your wet finger if needed after removing the tape.
Step 6: Let It Cure
Caulk needs time to cure (dry and form a waterproof seal) before it gets wet.
-
Silicone caulk typically needs 24 hours to cure. Some fast-curing formulas need only 3 to 6 hours. Check the tube for the manufacturer’s recommendation.
-
Don’t use the shower or tub until the caulk is fully cured. Water will wash it away or prevent it from curing properly.
-
Keep the bathroom ventilated but don’t point a fan directly at the caulk. Air circulation helps it cure, but direct airflow can cause it to skin over too quickly and not cure properly underneath.
Common Mistakes to Avoid
Applying New Caulk Over Old Caulk
This never works. The new caulk won’t adhere to the old caulk, and it will peel off within weeks. Always remove all the old caulk before applying new.
Not Cleaning and Drying the Surface
Caulk needs a clean, dry surface to adhere to. If there’s soap scum, mold, or moisture on the surface, the caulk will fail. Take the time to clean and dry the area thoroughly.
Using the Wrong Type of Caulk
Acrylic latex caulk is not waterproof. Don’t use it in showers or tubs. Use 100% silicone caulk labeled for kitchen and bath use.
Applying Too Much Caulk
A thick bead of caulk looks messy and takes longer to cure. Apply just enough to fill the joint, then smooth it out.
Not Smoothing the Caulk
Unsmoothed caulk has gaps and ridges that collect water and mold. Always smooth the bead after applying.
Getting the Tub Wet Too Soon
If you shower before the caulk cures, you’ll wash it away or compromise the seal. Wait at least 24 hours (or the time specified on the tube).
How to Caulk Around a Toilet
The same principles apply to caulking around the base of a toilet, with a few differences:
-
Use 100% silicone caulk. The floor around a toilet gets wet from cleaning and occasional splashes.
-
Leave a gap at the back. Most building codes require leaving a 2 to 3 inch gap in the caulk at the back of the toilet. This allows water from a leaking wax ring to escape, so you notice the leak instead of having it silently rot your floor.
-
Match the caulk color to the floor for a seamless look.
How to Maintain Caulk
Once your new caulk is in place, a little maintenance keeps it looking good and lasting longer.
Keep It Clean
Wipe down the caulk after each shower to remove soap scum and prevent mold. A quick swipe with a squeegee or towel takes 10 seconds.
Use the Bathroom Fan
Run the bathroom fan during and after showers to reduce humidity. Less moisture means less mold and mildew.
Don’t Use Bleach Cleaners on Caulk
Bleach breaks down silicone over time. Use a mild soap or a vinegar and water solution to clean caulked areas.
Inspect Annually
Check the caulk once a year for cracks, peeling, or mold. If you catch problems early, you can spot-repair instead of redoing the entire job.
How Much Does It Cost to Recaulk a Bathtub or Shower?
| Item | Cost |
|---|---|
| Silicone caulk (one tube) | $6 – $12 |
| Caulk gun | $5 – $10 |
| Caulk remover | $5 – $8 |
| Painter’s tape | $4 – $6 |
| Total DIY cost | $20 – $36 |
Professional Recaulking
If you hire a professional to recaulk a bathtub or shower, expect to pay $150 to $400. This includes labor and materials. Doing it yourself saves a significant amount of money for about 1 to 2 hours of work.
Frequently Asked Questions
How often should I recaulk my bathtub or shower?
Every 5 to 10 years, or whenever you notice cracking, peeling, or mold that can’t be cleaned. High-quality silicone caulk applied properly can last up to 10 years.
Can I apply new caulk over old caulk?
No. New caulk will not adhere to old caulk. You must remove all the old caulk before applying new. This is the most common mistake people make, and it always leads to premature failure.
Why does my caulk keep turning yellow?
Yellowing is usually caused by exposure to UV light (if your bathroom has a window) or by using the wrong type of caulk. Acrylic latex caulk yellows over time. 100% silicone caulk is more resistant to yellowing.
How long does caulk take to dry?
Silicone caulk typically needs 24 hours to fully cure. Some fast-curing formulas claim to cure in 3 to 6 hours, but I recommend waiting a full 24 hours before getting the caulk wet. Check the manufacturer’s recommendations on the tube.
Can I use clear caulk instead of white?
Yes. Clear caulk is a good choice if you have colored tile or a non-white tub. It’s also more forgiving if your bead isn’t perfectly straight. However, clear caulk can look cloudy if it’s applied too thick, and it’s harder to see mold growth.