A running toilet is one of those problems that’s easy to ignore — at first. The sound is annoying, but you get used to it. The water running into the bowl seems like a small amount. And as long as the toilet still flushes, it doesn’t seem urgent.
But a running toilet is anything but small. A toilet that runs continuously can waste up to 200 gallons of water per day. That’s over 6,000 gallons a month. Depending on your water rates, that could add $50 to $100 or more to your monthly water bill.
I ignored a running toilet for two months once because I didn’t want to deal with it. When I finally fixed it, my water bill dropped by $70 the next month. The repair took me about 15 minutes and cost less than $10.
The good news is that most running toilets can be fixed by a beginner in about 15 minutes with no special tools and inexpensive replacement parts. The key is understanding what’s causing the water to run, which means understanding how a toilet works.
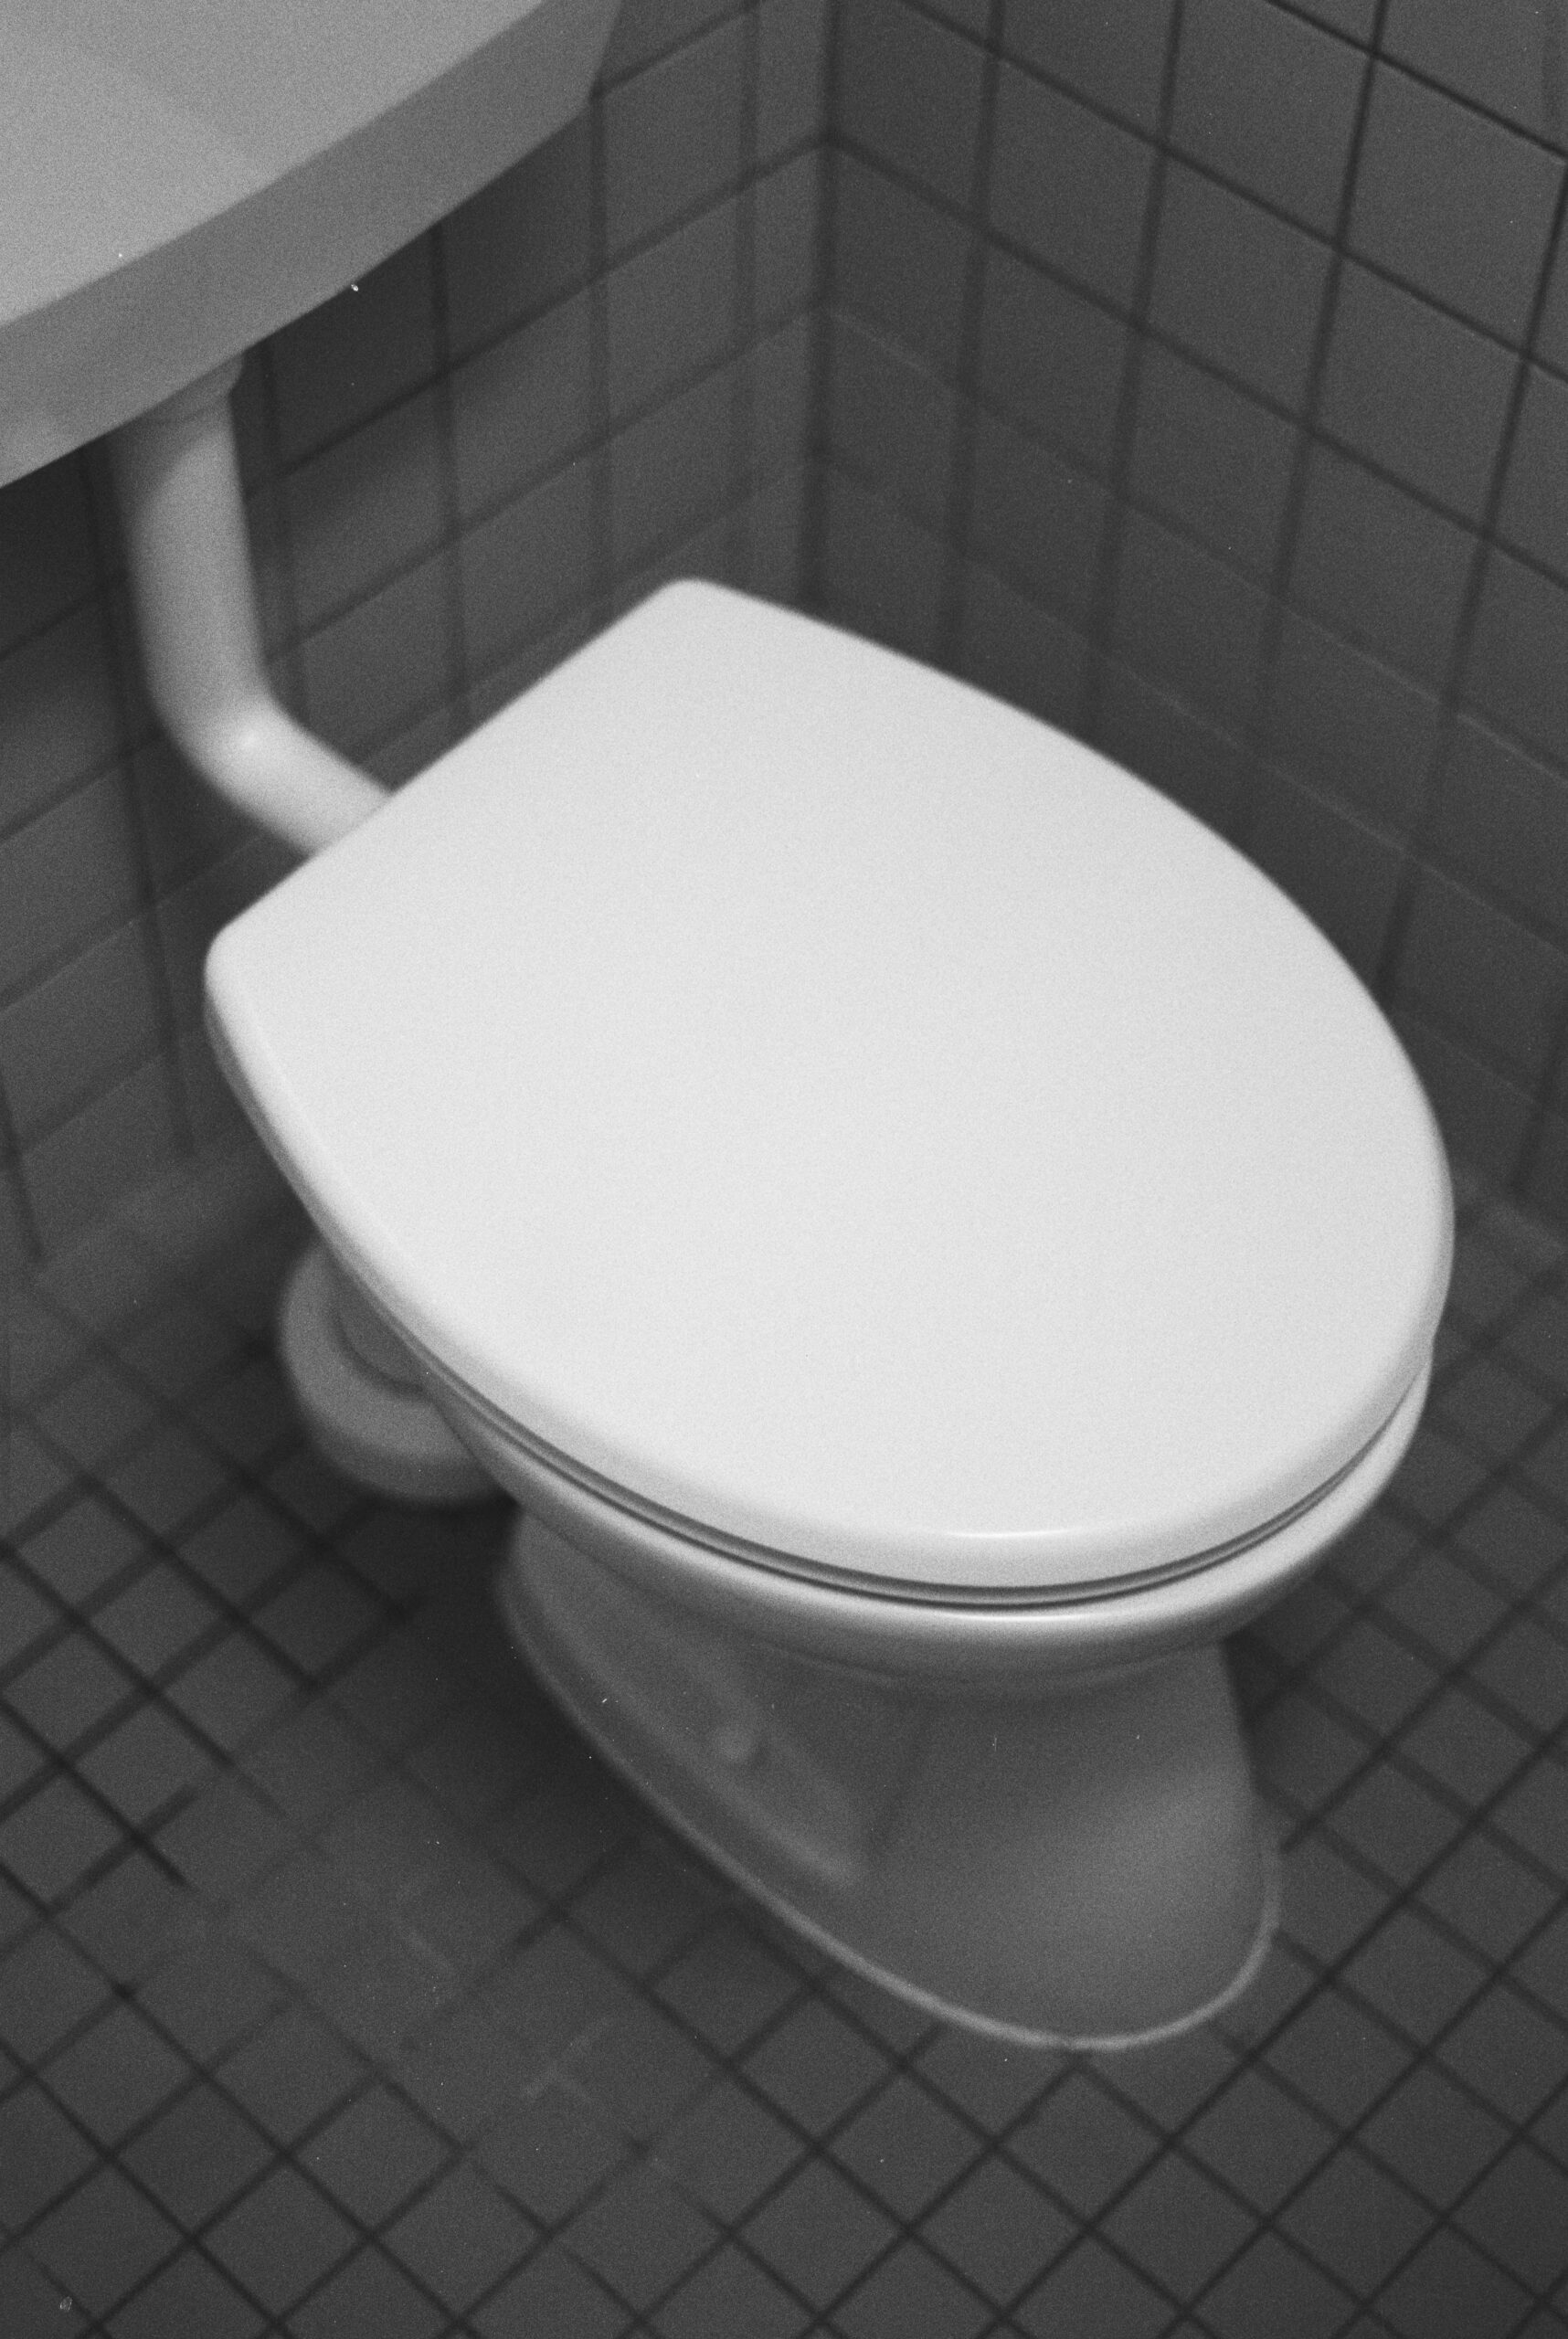
How a Toilet Works
A toilet is a simple machine with only a few moving parts. Understanding what they do makes diagnosing and fixing problems much easier.
When you flush:
- The handle lifts the flapper (or tank ball) off the flush valve seat at the bottom of the tank
- Water rushes from the tank into the bowl, creating the flush
- As the water level drops in the tank, the flapper falls back down over the flush valve seat, sealing the tank
- The fill valve (also called the ballcock) opens and refills the tank
- A float rises with the water level. When the float reaches the set height, it shuts off the fill valve
- Some water also goes through the refill tube into the overflow pipe to refill the bowl
A running toilet means water is continuously flowing from the tank into the bowl. This happens when:
- The flapper isn’t sealing properly (water leaks past it into the bowl)
- The water level is set too high (water flows into the overflow pipe)
- The fill valve isn’t shutting off (water keeps running even when the tank is full)
Ninety percent of running toilets are caused by a faulty flapper. It’s the most common, easiest, and cheapest fix.
Step 1: Diagnose the Problem
Before you replace anything, figure out what’s causing the toilet to run. This takes about two minutes.
The Dye Test
- Remove the lid from the toilet tank. (Set it down gently somewhere safe — they break easily and are expensive to replace.)
- Add a few drops of food coloring or a dye tablet into the water in the tank. (Don’t use anything that will permanently stain.)
- Wait 15 to 30 minutes without flushing.
- Check the water in the bowl. If it’s colored, water is leaking from the tank into the bowl.
This confirms you have a leak, but not where it is. To find the specific cause:
Check the Water Level
Look at the water level in the tank. It should be about 1 inch below the top of the overflow pipe (the vertical tube in the center of the tank).
- If the water level is at or above the top of the overflow pipe, the water level is too high. Water is flowing into the overflow pipe and down into the bowl. Adjust the float (see Step 3).
- If the water level is below the top of the overflow pipe, the flapper is likely the problem (see Step 2).
Listen to the Toilet
- If you hear water running continuously, the fill valve may not be shutting off properly.
- If you hear water running intermittently (it runs for a few seconds, stops, then runs again a few minutes later), the flapper is leaking slowly. The tank drains slowly until the float drops enough to trigger the fill valve, then the tank refills. This cycle repeats.
Step 2: Replace the Flapper
This is the most common fix for a running toilet. The flapper is the rubber piece at the bottom of the tank that lifts up when you flush and falls back down to seal the tank. Over time, the rubber degrades, warps, or accumulates mineral deposits, preventing a tight seal.
How to Replace the Flapper
-
Turn off the water — Find the shutoff valve on the wall behind the toilet (near the floor). Turn it clockwise until it stops. If the valve is stuck or won’t turn, you can still do this repair — just be ready to reach in and close the flapper with your hand if needed.
-
Drain the tank — Flush the toilet to drain most of the water from the tank. Hold the handle down to let as much water as possible drain out. Use a sponge or towel to remove any remaining water.
-
Remove the old flapper — Unhook the flapper from the hinges on the sides of the flush valve (the overflow pipe). Some flappers slide off; others have small ears that hook onto pegs. Note how the old flapper attaches — you’ll need to attach the new one the same way.
-
Take the old flapper to the hardware store — Flappers come in different sizes and styles. Having the old one ensures you get the right replacement. They cost about $5 to $10.
-
Clean the flush valve seat — Before installing the new flapper, run your finger around the rim of the flush valve seat (the hole the flapper sits on). If it feels rough or has mineral buildup, clean it with a scouring pad or fine sandpaper. A clean, smooth surface helps the new flapper seal properly.
-
Install the new flapper — Hook the new flapper onto the hinges or pegs, just like the old one was attached. Make sure it sits flat and centered over the flush valve seat.
-
Turn the water back on — Open the shutoff valve and let the tank fill. Watch the flapper as the tank fills — it should stay sealed.
-
Test the flush — Flush the toilet a few times. Make sure the flapper lifts properly when you flush and falls back down to seal completely.
Flapper Tips
- Don’t use bleach tablets in the tank — Those blue cleaning tablets that go in the tank will destroy a rubber flapper in months. If you want to use a cleaning tablet, put it in the bowl, not the tank.
- Make sure the chain has the right amount of slack — The chain connecting the handle lever to the flapper should have about 1/2 inch of slack. Too tight and the flapper won’t seal. Too loose and the chain can get caught under the flapper, preventing it from sealing.
- If the flapper doesn’t fix the problem, the flush valve seat itself may be damaged or corroded. In this case, you may need to replace the entire flush valve assembly, which is a bigger job.
Step 3: Adjust the Float
If the water level in the tank is too high, water flows into the overflow pipe and the toilet runs continuously. The fix is to adjust the float so it shuts off the fill valve at a lower water level.
There are two types of floats:
Cup Float (Modern Toilets)
The cup float is a plastic cylinder that slides up and down on the fill valve shaft. It’s adjusted by squeezing a clip on the side of the float and sliding it down the shaft.
- Squeeze the adjustment clip on the side of the float.
- Slide the float down about 1/2 inch on the fill valve shaft.
- Flush the toilet and let the tank refill.
- Check the water level — it should be about 1 inch below the top of the overflow pipe.
- Adjust further if needed.
Ball Float (Older Toilets)
The ball float is a plastic or brass ball on the end of a metal arm. It’s adjusted by bending the arm downward.
- Flush the toilet and let the tank refill.
- Check the water level.
- If it’s too high, bend the float arm downward slightly. Use both hands to bend the arm near the middle, not at the ends. You want a gentle bend, not a sharp kink.
- Flush and refill again. Check the water level.
- Adjust further if needed.
For ball floats with an adjustment screw on the fill valve, turn the screw clockwise to lower the water level. One full turn usually changes the level by about 1/4 inch.
Step 4: Fix or Replace the Fill Valve
If the flapper is good and the water level is correct, but water is still running, the fill valve itself may be the problem. The fill valve controls the flow of water into the tank. If it doesn’t shut off completely, water runs continuously.
Check the Refill Tube
The refill tube is a small rubber tube that runs from the fill valve to the overflow pipe. It refills the bowl after a flush.
If the refill tube is inserted too far down the overflow pipe (below the water line), it can siphon water from the tank into the bowl. This causes the tank to drain slowly and the fill valve to turn on repeatedly.
Fix: Pull the refill tube out of the overflow pipe. It should clip to the top of the overflow pipe and direct water into the pipe, but not be submerged below the water line.
Clean the Fill Valve
Mineral deposits can prevent the fill valve from closing properly.
- Turn off the water supply.
- Flush the toilet to drain the tank.
- Remove the cap on top of the fill valve. (The method varies by brand — check your manufacturer’s instructions or search online for your specific model.)
- Use a small brush or cloth to clean any mineral deposits from the valve mechanism.
- Hold a cup over the open valve and turn the water on briefly to flush out any debris.
- Reassemble the valve and test.
Replace the Fill Valve
If cleaning doesn’t fix the problem, replace the fill valve. This is a bit more involved than replacing the flapper but still a beginner-friendly job.
- Turn off the water and drain the tank.
- Disconnect the water supply line from the bottom of the fill valve (under the tank).
- Remove the old fill valve — Unscrew the lock nut on the outside bottom of the tank that holds the fill valve in place. Lift the old valve out.
- Install the new fill valve — Insert the new valve through the hole in the tank. Adjust the height according to the instructions (most adjustable valves have a twist-lock mechanism to set the height). Tighten the lock nut from underneath.
- Reconnect the water supply line to the bottom of the new fill valve.
- Attach the refill tube to the top of the fill valve and clip it to the overflow pipe.
- Turn the water on and let the tank fill. Adjust the float to set the water level about 1 inch below the top of the overflow pipe.
- Test the flush — Flush a few times and make sure everything works properly.
A new fill valve costs about $10 to $20 and takes about 20 to 30 minutes to install.
Step 5: Check the Flush Handle and Chain
Sometimes the problem isn’t with the flapper or fill valve — it’s with the mechanism that connects the handle to the flapper.
Chain Problems
- Chain is too long — It can get caught under the flapper, preventing it from sealing. Shorten the chain by hooking it to a different link.
- Chain is too short — It holds the flapper slightly open, allowing water to leak through. Lengthen the chain.
- Chain is kinked or tangled — It prevents the flapper from falling properly. Straighten or replace the chain.
Handle Problems
- Handle is loose — Tighten the mounting nut inside the tank. Note: these nuts are usually reverse-threaded (turn clockwise to loosen, counterclockwise to tighten).
- Handle sticks in the down position — This keeps the flapper lifted and water running. Clean or lubricate the handle mechanism. If it’s corroded, replace it.
Quick Reference: Running Toilet Diagnosis
| Symptom | Likely Cause | Fix |
|---|---|---|
| Water runs continuously, level is below overflow pipe | Faulty flapper | Replace flapper |
| Water runs continuously, level is at or above overflow pipe | Float set too high | Adjust float |
| Water runs continuously, flapper and float are fine | Faulty fill valve | Clean or replace fill valve |
| Water runs intermittently (cycles on and off) | Slow flapper leak | Replace flapper |
| Refill tube is below water line | Siphoning through refill tube | Reposition refill tube |
| Chain is caught under flapper | Chain too long or tangled | Adjust chain length |
How Much Water Does a Running Toilet Waste?
| Leak Rate | Water Wasted Per Day | Water Wasted Per Month | Approximate Monthly Cost |
|---|---|---|---|
| Slow drip | 30 gallons | 900 gallons | $5 – $10 |
| Steady trickle | 100 gallons | 3,000 gallons | $15 – $30 |
| Continuous run | 200+ gallons | 6,000+ gallons | $30 – $70+ |
These costs are based on an average water rate of $5 to $12 per 1,000 gallons (including sewer charges). Your actual costs may be higher or lower depending on your local rates.
A running toilet can easily double your water bill. Fixing it pays for itself in the first month.
How Much Does It Cost to Fix a Running Toilet?
| Repair | DIY Cost | Professional Cost |
|---|---|---|
| Replace flapper | $5 – $10 | 75 – \150 |
| Adjust float | $0 | 75 – \150 |
| Replace fill valve | $10 – $20 | 100 – \200 |
| Replace flush valve assembly | $15 – $30 | 150 – \250 |
The DIY costs are just for parts. The professional costs include labor and a service call fee. For any of these repairs, doing it yourself saves a significant amount of money.
When to Call a Plumber
Most running toilets are easy DIY fixes. Call a plumber if:
- You’ve replaced the flapper, adjusted the float, and cleaned or replaced the fill valve, and the toilet still runs
- The shutoff valve is stuck or won’t turn
- You see water leaking from the base of the toilet (this is a different problem — the wax ring seal needs replacing)
- The toilet is very old and the internal parts are corroded or damaged beyond simple repairs
Frequently Asked Questions
Why does my toilet run intermittently?
This is almost always a slow flapper leak. Water leaks past the flapper into the bowl, causing the tank water level to drop slowly. When it drops far enough, the float triggers the fill valve and the tank refills. The cycle repeats every few minutes. Replace the flapper.
Can I just bend the float arm to fix the water level?
Yes, for ball floats. Gently bend the arm downward to lower the water level. Use both hands and bend near the middle of the arm. Don’t bend it too far — small adjustments make a big difference. For cup floats, use the adjustment clip.
Why does my toilet run after I replace the flapper?
Make sure the new flapper is the right size and type for your toilet. Not all flappers are the same. Also check that the chain has the right amount of slack, the flush valve seat is clean and smooth, and the refill tube isn’t siphoning water. If all of these check out, the flush valve seat itself may be damaged and need replacing.
How do I know what flapper to buy?
Take the old one to the hardware store. Flappers come in different sizes (2-inch and 3-inch are most common) and styles (some have hinges, some have ears, some are adjustable). Universal flappers work on most toilets, but having the old one for comparison ensures you get the right match. You can also look up your toilet brand and model to find the correct replacement part.
Is a running toilet an emergency?
No, but it shouldn’t be ignored. A running toilet won’t cause immediate damage, but it wastes a significant amount of water and money. Fix it within a few days of noticing the problem. If the shutoff valve is leaking or you see water on the floor, that’s more urgent.