Drywall is sturdy enough for everyday life, but it has a nemesis: doorknobs. And elbows. And kids throwing things indoors. And furniture being moved carelessly. One moment of inattention and you have a hole in your wall.
The first time I put a hole in my drywall, I panicked. It looked like major structural damage. I imagined expensive repairs and professional drywall installers traipsing through my house. Then I watched a few tutorials and realized that patching drywall is one of the most straightforward home repairs you can do yourself.
The size of the hole determines the repair method. Small holes (like nail pops or screw holes) take about five minutes to fix. Medium holes (like a doorknob punch) take about an hour, plus drying time. Large holes (like a fist-sized gash or bigger) require a bit more work but are still completely doable for a beginner.
This guide covers all three. None of them require special skills or expensive tools. The most important thing with drywall repair is patience — you have to let the compound dry between coats. Rushing is what makes patches look obvious.
Understanding Drywall
Drywall (also called sheetrock, wallboard, or gypsum board) is the flat panel material that makes up most of the walls in modern homes. It’s a layer of gypsum sandwiched between two layers of paper.
When you patch drywall, you’re replacing the missing gypsum and paper with joint compound (also called mud) and sometimes a new piece of drywall. The goal is to make the patch blend seamlessly with the surrounding wall so you can’t tell it was ever damaged.
Types of Joint Compound
There are two main types you’ll encounter:
- Pre-mixed all-purpose compound — Comes in a tub, ready to use. Easy to work with and fine for most repairs. Takes 24 hours to dry completely.
- Quick-setting compound — Comes as a powder you mix with water. Sets in 20 to 90 minutes depending on the type. Good for when you want to do multiple coats in one day, but harder to sand and less forgiving for beginners.
For your first few repairs, stick with pre-mixed all-purpose compound. It’s more forgiving and easier to sand smooth.
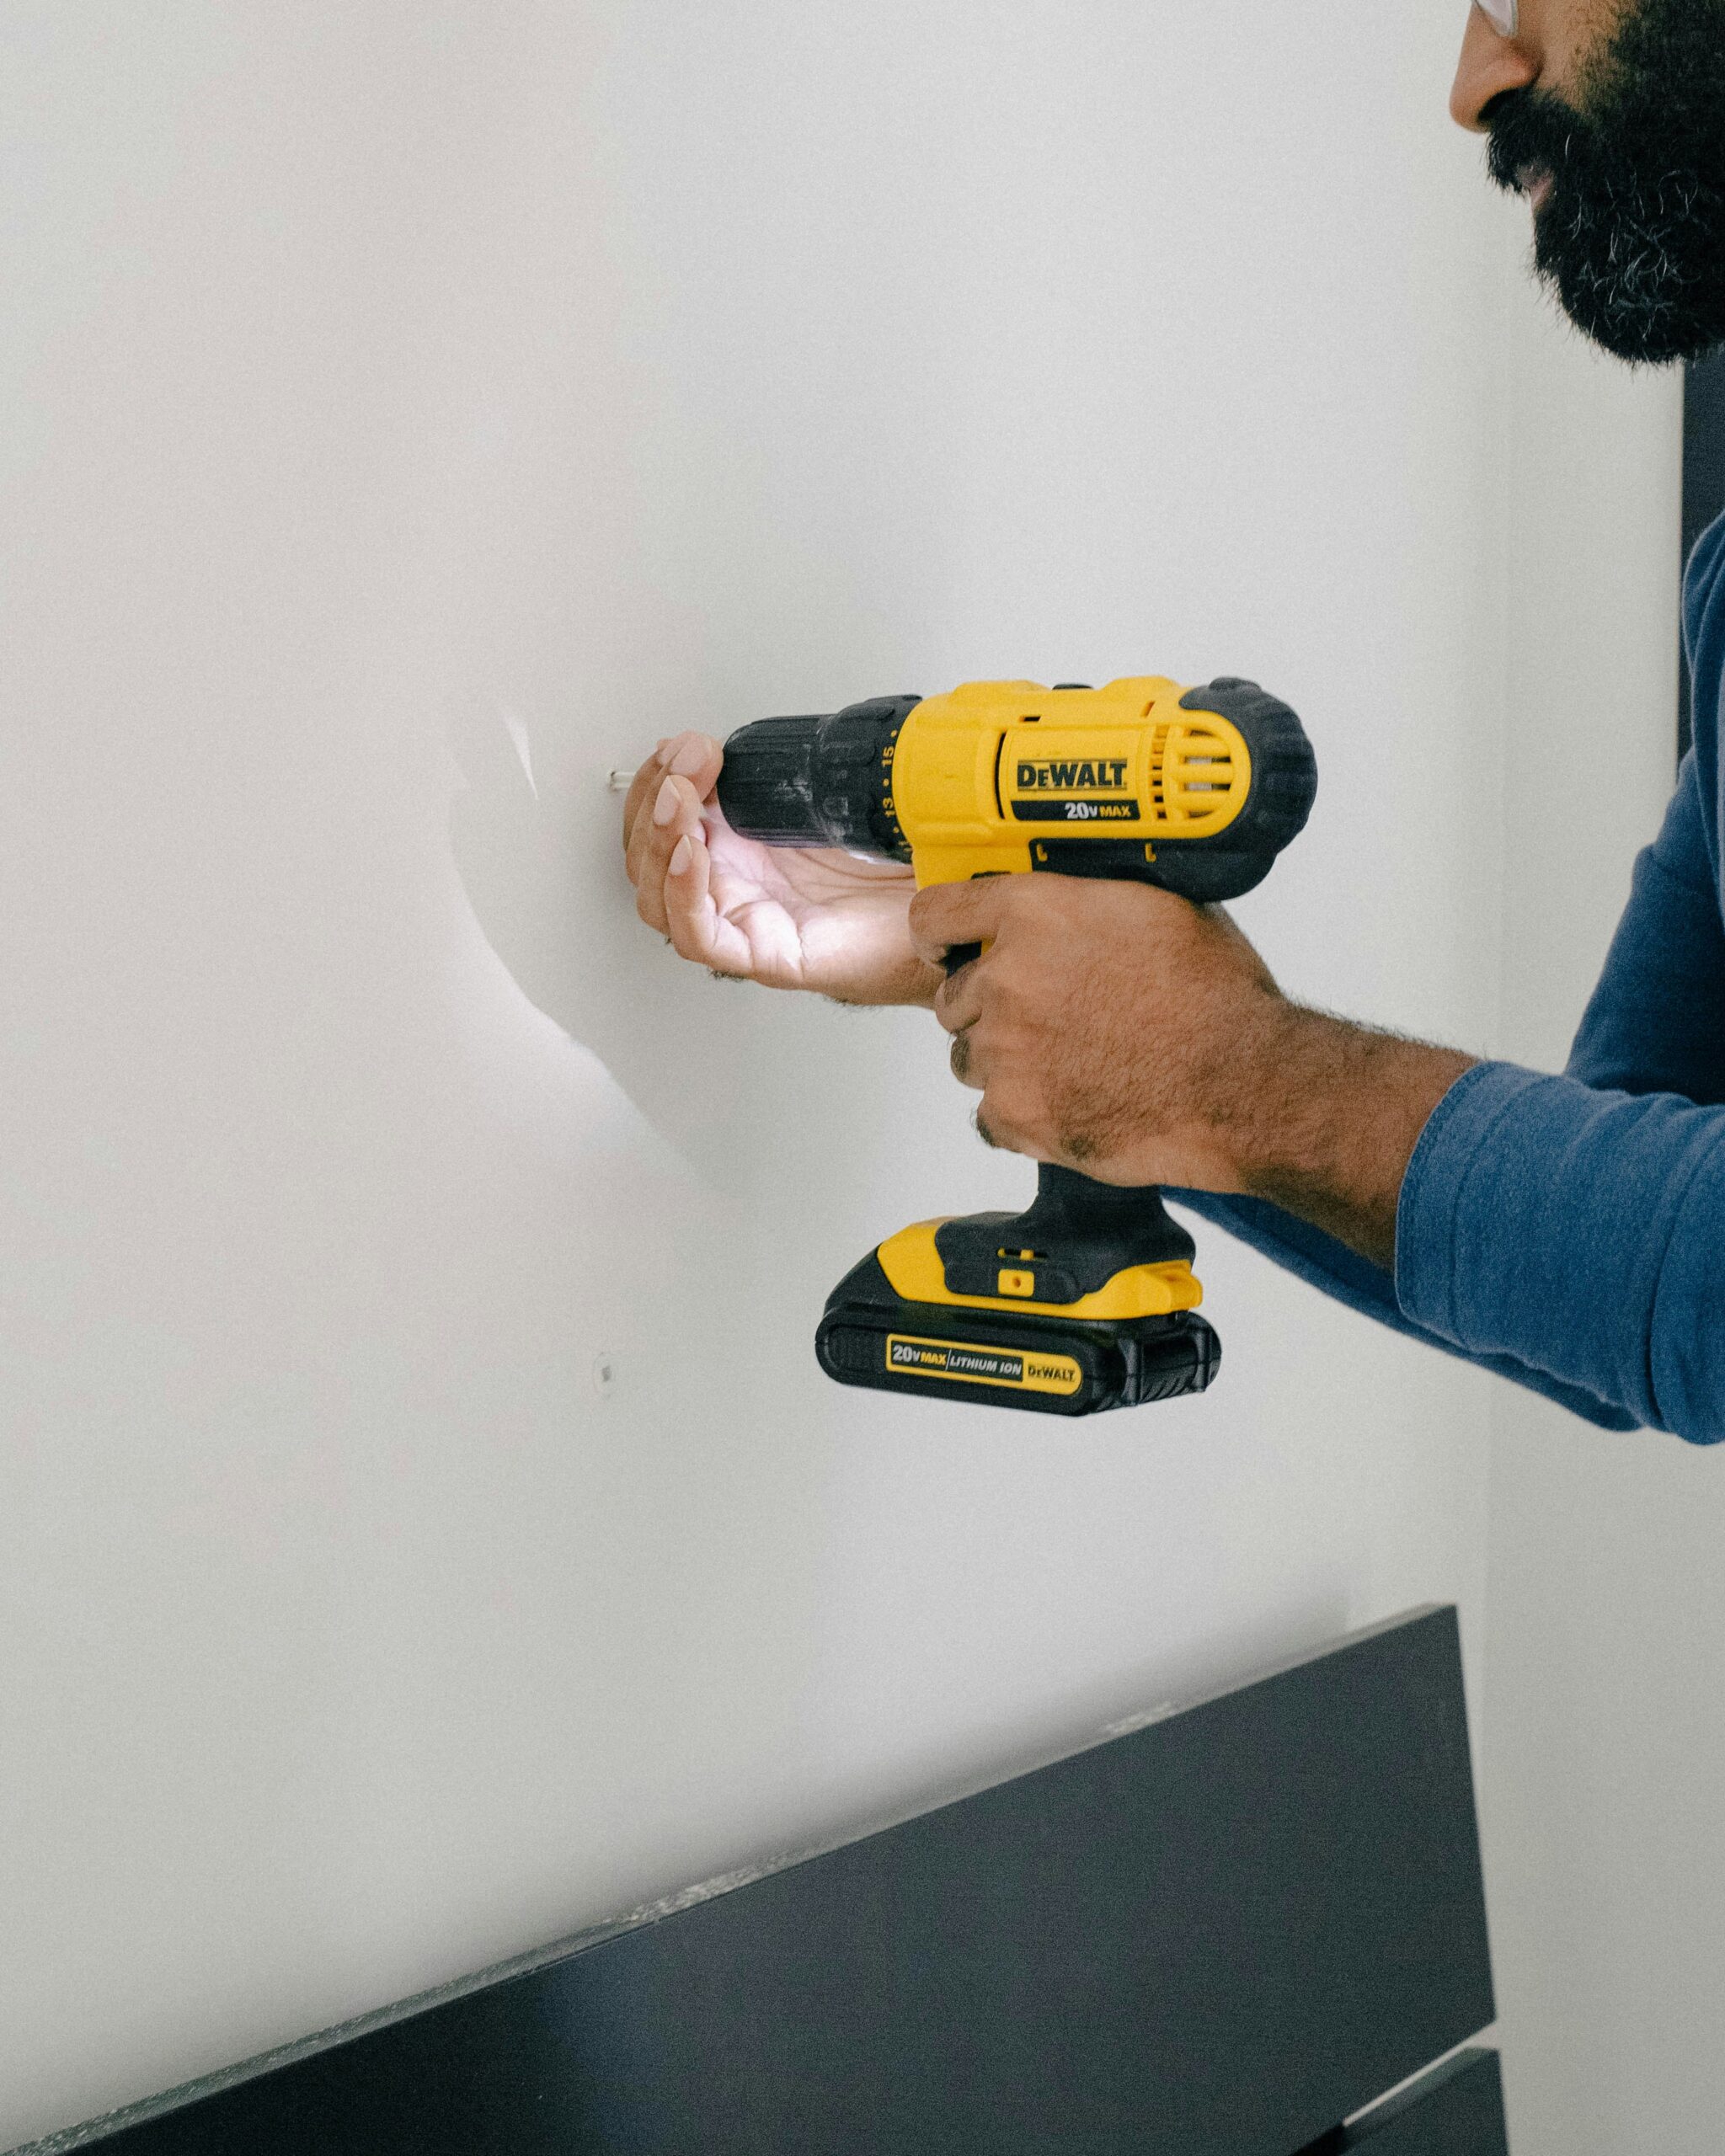
Tools and Materials You’ll Need
- Joint compound (pre-mixed all-purpose)
- Putty knife (4-6 inch for applying, 8-12 inch for feathering)
- Sandpaper (120 grit and 220 grit)
- Drywall knife or utility knife
- Self-adhesive mesh drywall tape
- A small piece of drywall (for larger holes)
- A scrap piece of wood (like a paint stir stick or furring strip)
- Drywall screws
- Primer
- Matching paint
How to Patch Small Holes (Nail Holes, Screw Holes, Dings)
Small holes are the easiest to fix. If it’s smaller than a dime, you don’t even need tape.
Step 1: Clean the Hole
Remove any loose paper or debris from around the hole. If the paper is sticking out, trim it with a utility knife so it’s flush with the wall.
Step 2: Apply Compound
Use a putty knife to press joint compound into the hole. Scrape the knife across the surface to make it smooth and flush with the wall.
For tiny holes, one coat is usually enough. For slightly larger small holes, you may need a second coat after the first one dries.
Step 3: Sand Smooth
Wait for the compound to dry completely (about 24 hours for pre-mixed compound). Sand it smooth with 220-grit sandpaper. Be gentle — you just want to smooth the surface, not sand a dent into the wall.
Step 4: Prime and Paint
Prime the patched area with a small brush or foam pad. Once the primer is dry, touch up with matching paint.
How to Patch Medium Holes (Doorknob Holes, Fist-Sized Holes)
Medium holes are roughly 1 to 6 inches in diameter. They’re too big for compound alone but don’t require replacing a full section of drywall.
There are two methods for medium holes: the mesh patch method and the California patch method. Both work well. The mesh patch is easier for beginners; the California patch is faster if you have scrap drywall.
Method 1: Self-Adhesive Mesh Patch
This is the easiest method for medium holes. You can buy self-adhesive metal or fiberglass mesh patches at any hardware store for a few dollars. They come in various sizes.
Step 1: Clean and Prep the Hole
Trim any loose or ragged paper around the hole with a utility knife. You want a clean edge. If the hole has any raised edges, press them flat or trim them.
Step 2: Apply the Mesh Patch
Peel the backing off the mesh patch and press it firmly over the hole. The adhesive side goes against the wall. Make sure the patch extends at least an inch beyond the hole on all sides.
Step 3: Apply the First Coat of Compound
Use a 4-6 inch putty knife to apply a thin coat of joint compound over the mesh. Press firmly to force compound through the mesh holes. Scrape the surface smooth, but don’t try to fill the entire depression in one coat — it will shrink as it dries.
The mesh will likely still be visible through this first coat. That’s normal.
Step 4: Apply the Second Coat
Wait for the first coat to dry (about 24 hours). Apply a second coat, this time using an 8-12 inch knife. Spread the compound beyond the edges of the patch, feathering it out thin at the edges so it blends with the wall.
The goal is to create a smooth transition from the patch to the surrounding wall. The compound should be thicker in the center and paper-thin at the edges.
Step 5: Apply a Third Coat if Needed
After the second coat dries, assess the patch. If you can still see a depression or the edges are visible, apply a third coat, feathering it out even further.
Step 6: Sand Smooth
Once the final coat is completely dry, sand it smooth. Start with 120-grit sandpaper to remove high spots, then finish with 220-grit for a smooth surface.
Don’t over-sand. If you sand too much and expose the mesh, you’ll need to apply another thin coat of compound.
Step 7: Prime and Paint
Prime the patched area. The primer seals the compound and provides a uniform surface for the paint. Without primer, the patch will look dull and slightly different from the rest of the wall, even with matching paint.
Once the primer is dry, paint the area.
Method 2: The California Patch (Hot Patch)
This method uses a piece of drywall and its own paper facing as the patch and tape in one. It’s clever, fast, and creates a very strong repair.
Step 1: Cut a Drywall Patch
Cut a square or rectangular piece of drywall that’s about 2 inches larger than the hole on all sides. For example, if the hole is 3 inches across, cut a 7-inch square patch.
Step 2: Score and Remove the Center
On the back (rough) side of the patch, score a line around the perimeter of the piece, about 1 inch from each edge. Then score another line around the piece that matches the size of the hole.
Carefully break away the gypsum from the back side within that 1-inch border, leaving the front paper facing intact. You should end up with a piece of drywall that fits the hole, surrounded by a 1-inch border of just the front paper.
Step 3: Fit the Patch
Test-fit the drywall insert into the hole. It should fit snugly but not tight. If it’s too big, trim it slightly.
Step 4: Apply Compound to the Wall
Spread a thin layer of joint compound on the wall around the hole, extending about an inch beyond the hole on all sides. This compound will act as the adhesive for the paper border.
Step 5: Press the Patch In
Insert the drywall piece into the hole. The paper border should lie flat against the wall, embedded in the compound.
Use the putty knife to smooth the paper from the center outward, removing air bubbles and excess compound.
Step 6: Apply Additional Coats
Wait for the first coat to dry. Apply a second coat of compound over the entire patch, feathering the edges. Apply a third coat if needed.
Step 7: Sand, Prime, and Paint
Same as the mesh patch method — sand smooth, prime, and paint.
How to Patch Large Holes (Bigger Than 6 Inches)
Large holes require a more substantial repair. You need to replace the missing drywall with a new piece, and that new piece needs something to attach to.
Step 1: Cut a Clean Rectangle
Use a drywall knife or utility knife to cut the hole into a clean square or rectangle. Cut back to the studs if possible — this gives you a solid surface to screw the new drywall into.
If you can’t cut back to the studs (or don’t want to cut that much), you’ll use backing strips to support the new piece.
Step 2: Add Backing Strips (If Not on Studs)
If your cut edges don’t land on studs, you need to create something for the new drywall to screw into:
- Cut two pieces of furring strip or scrap wood to about 4 inches longer than the height of your rectangular hole.
- Insert one strip into the hole, behind the top edge. Hold it so it extends about 2 inches beyond the hole on each side.
- Drive drywall screws through the existing wall and into the strip to hold it in place. Use one screw above the hole and one below.
- Repeat for the other side of the hole.
- You now have wooden backing on both sides for the new drywall piece to screw into.
Step 3: Cut a Replacement Piece
Measure the rectangular hole and cut a piece of new drywall to fit. It should be snug but not forced.
Step 4: Screw the New Piece In
Place the replacement piece in the hole. Drive drywall screws through the new piece and into the backing strips or studs. Sink the screws slightly below the surface of the drywall — you should see a small dimple but the paper shouldn’t tear.
Step 5: Tape the Seams
Apply self-adhesive mesh tape over all the seams where the new drywall meets the existing wall.
Step 6: Apply Compound
Apply three coats of joint compound:
First coat: Press compound into the seams and over the screw heads. Scrape smooth.
Second coat: After the first coat dries, apply a wider coat, feathering the edges out 2-3 inches beyond the tape.
Third coat: After the second coat dries, apply an even wider coat, feathering the edges out 4-6 inches beyond the tape. The goal is a smooth, gradual transition that’s invisible once painted.
Step 7: Sand, Prime, and Paint
Sand smooth with 120-grit, then 220-grit. Prime the entire patched area and a few inches beyond the compound. Paint.
Tips for a Professional-Looking Patch
The difference between an obvious patch and an invisible one comes down to technique:
Feather the Edges
The most common beginner mistake is not feathering the compound far enough. Each coat should extend beyond the previous one, creating a gradual transition. If you can feel the edge of the patch with your hand, you’ll see it after painting. Feather the compound out 4-6 inches beyond the actual repair.
Don’t Over-Sand
It’s tempting to sand until the patch is glass-smooth, but over-sanding creates a low spot that’s visible when the light hits it. Sand just enough to remove ridges and tool marks.
Use a Light to Check Your Work
Hold a flashlight or work light at a low angle across the patch. This highlights any ridges, depressions, or uneven areas that need attention. Fix them before painting.
Prime Before Painting
I know I’ve said this multiple times, but it’s that important. Joint compound is porous and absorbs paint differently than drywall paper. Without primer, the patched area will look dull and slightly different from the rest of the wall, even with matching paint.
Match the Wall Texture
If your walls have a texture (orange peel, knockdown, etc.), you’ll need to match it on the patch before painting. Texture matching is an art that takes practice. For small patches, a texture spray can (available at hardware stores) can work. For larger areas, you may want to practice on a piece of cardboard first.
If your walls are smooth, you’re in luck — smooth is the easiest texture to match.
Common Mistakes to Avoid
Applying Too Much Compound at Once
Thick coats take forever to dry and are more likely to crack. Apply thin coats and build up gradually. Three thin coats look better than one thick coat.
Not Letting It Dry Completely
Wet compound is soft and will pull away from the wall if you try to sand or apply another coat too soon. Wait 24 hours for pre-mixed compound. If you’re not sure if it’s dry, wait longer.
Skipping the Primer
The patched area will flash (look different) without primer. Always prime.
Using the Wrong Sandpaper
Coarse sandpaper (like 80 grit) leaves scratches that show through paint. Start with 120 grit and finish with 220 grit.
Not Feathering Enough
If the patch is visible after painting, it’s usually because the compound wasn’t feathered out far enough. Each coat should extend further than the last.
How Much Does Drywall Repair Cost?
| Repair Type | DIY Cost | Professional Cost |
|---|---|---|
| Small hole (nail/screw) | $5 – $10 | 75 – \150 |
| Medium hole (doorknob) | $10 – $20 | 100 – \200 |
| Large hole (fist-sized+) | $20 – $40 | 150 – \300 |
The professional cost includes labor, materials, and often a minimum service charge. For small and medium holes, doing it yourself saves a significant amount of money.
Frequently Asked Questions
Can I use spackle instead of joint compound?
For small holes (nail and screw holes), yes. Spackle is designed for small repairs and dries faster than joint compound. For medium and large holes, use joint compound — spackle isn’t strong enough for larger repairs.
How long does joint compound take to dry?
Pre-mixed all-purpose compound takes about 24 hours to dry completely, depending on humidity and temperature. Quick-setting compound sets in 20 to 90 minutes but is harder to work with. For beginners, pre-mixed is the way to go.
Do I need to sand between coats?
It’s not strictly necessary, but a light sanding between coats removes ridges and high spots, making the next coat easier to apply. Use 120-grit sandpaper and just knock down the obvious bumps — don’t try to make it smooth yet.
Why does my patch show through the paint?
The most common reasons are: not feathering the compound far enough, not priming before painting, or the wall texture doesn’t match. Hold a light at a low angle across the patch — if you can see the edge, feather the compound further.
Can I paint over joint compound without priming?
You can, but it won’t look good. The compound is porous and absorbs paint differently than the surrounding drywall. This creates a visible spot called “flashing.” Primer seals the compound and provides a uniform surface for the paint.