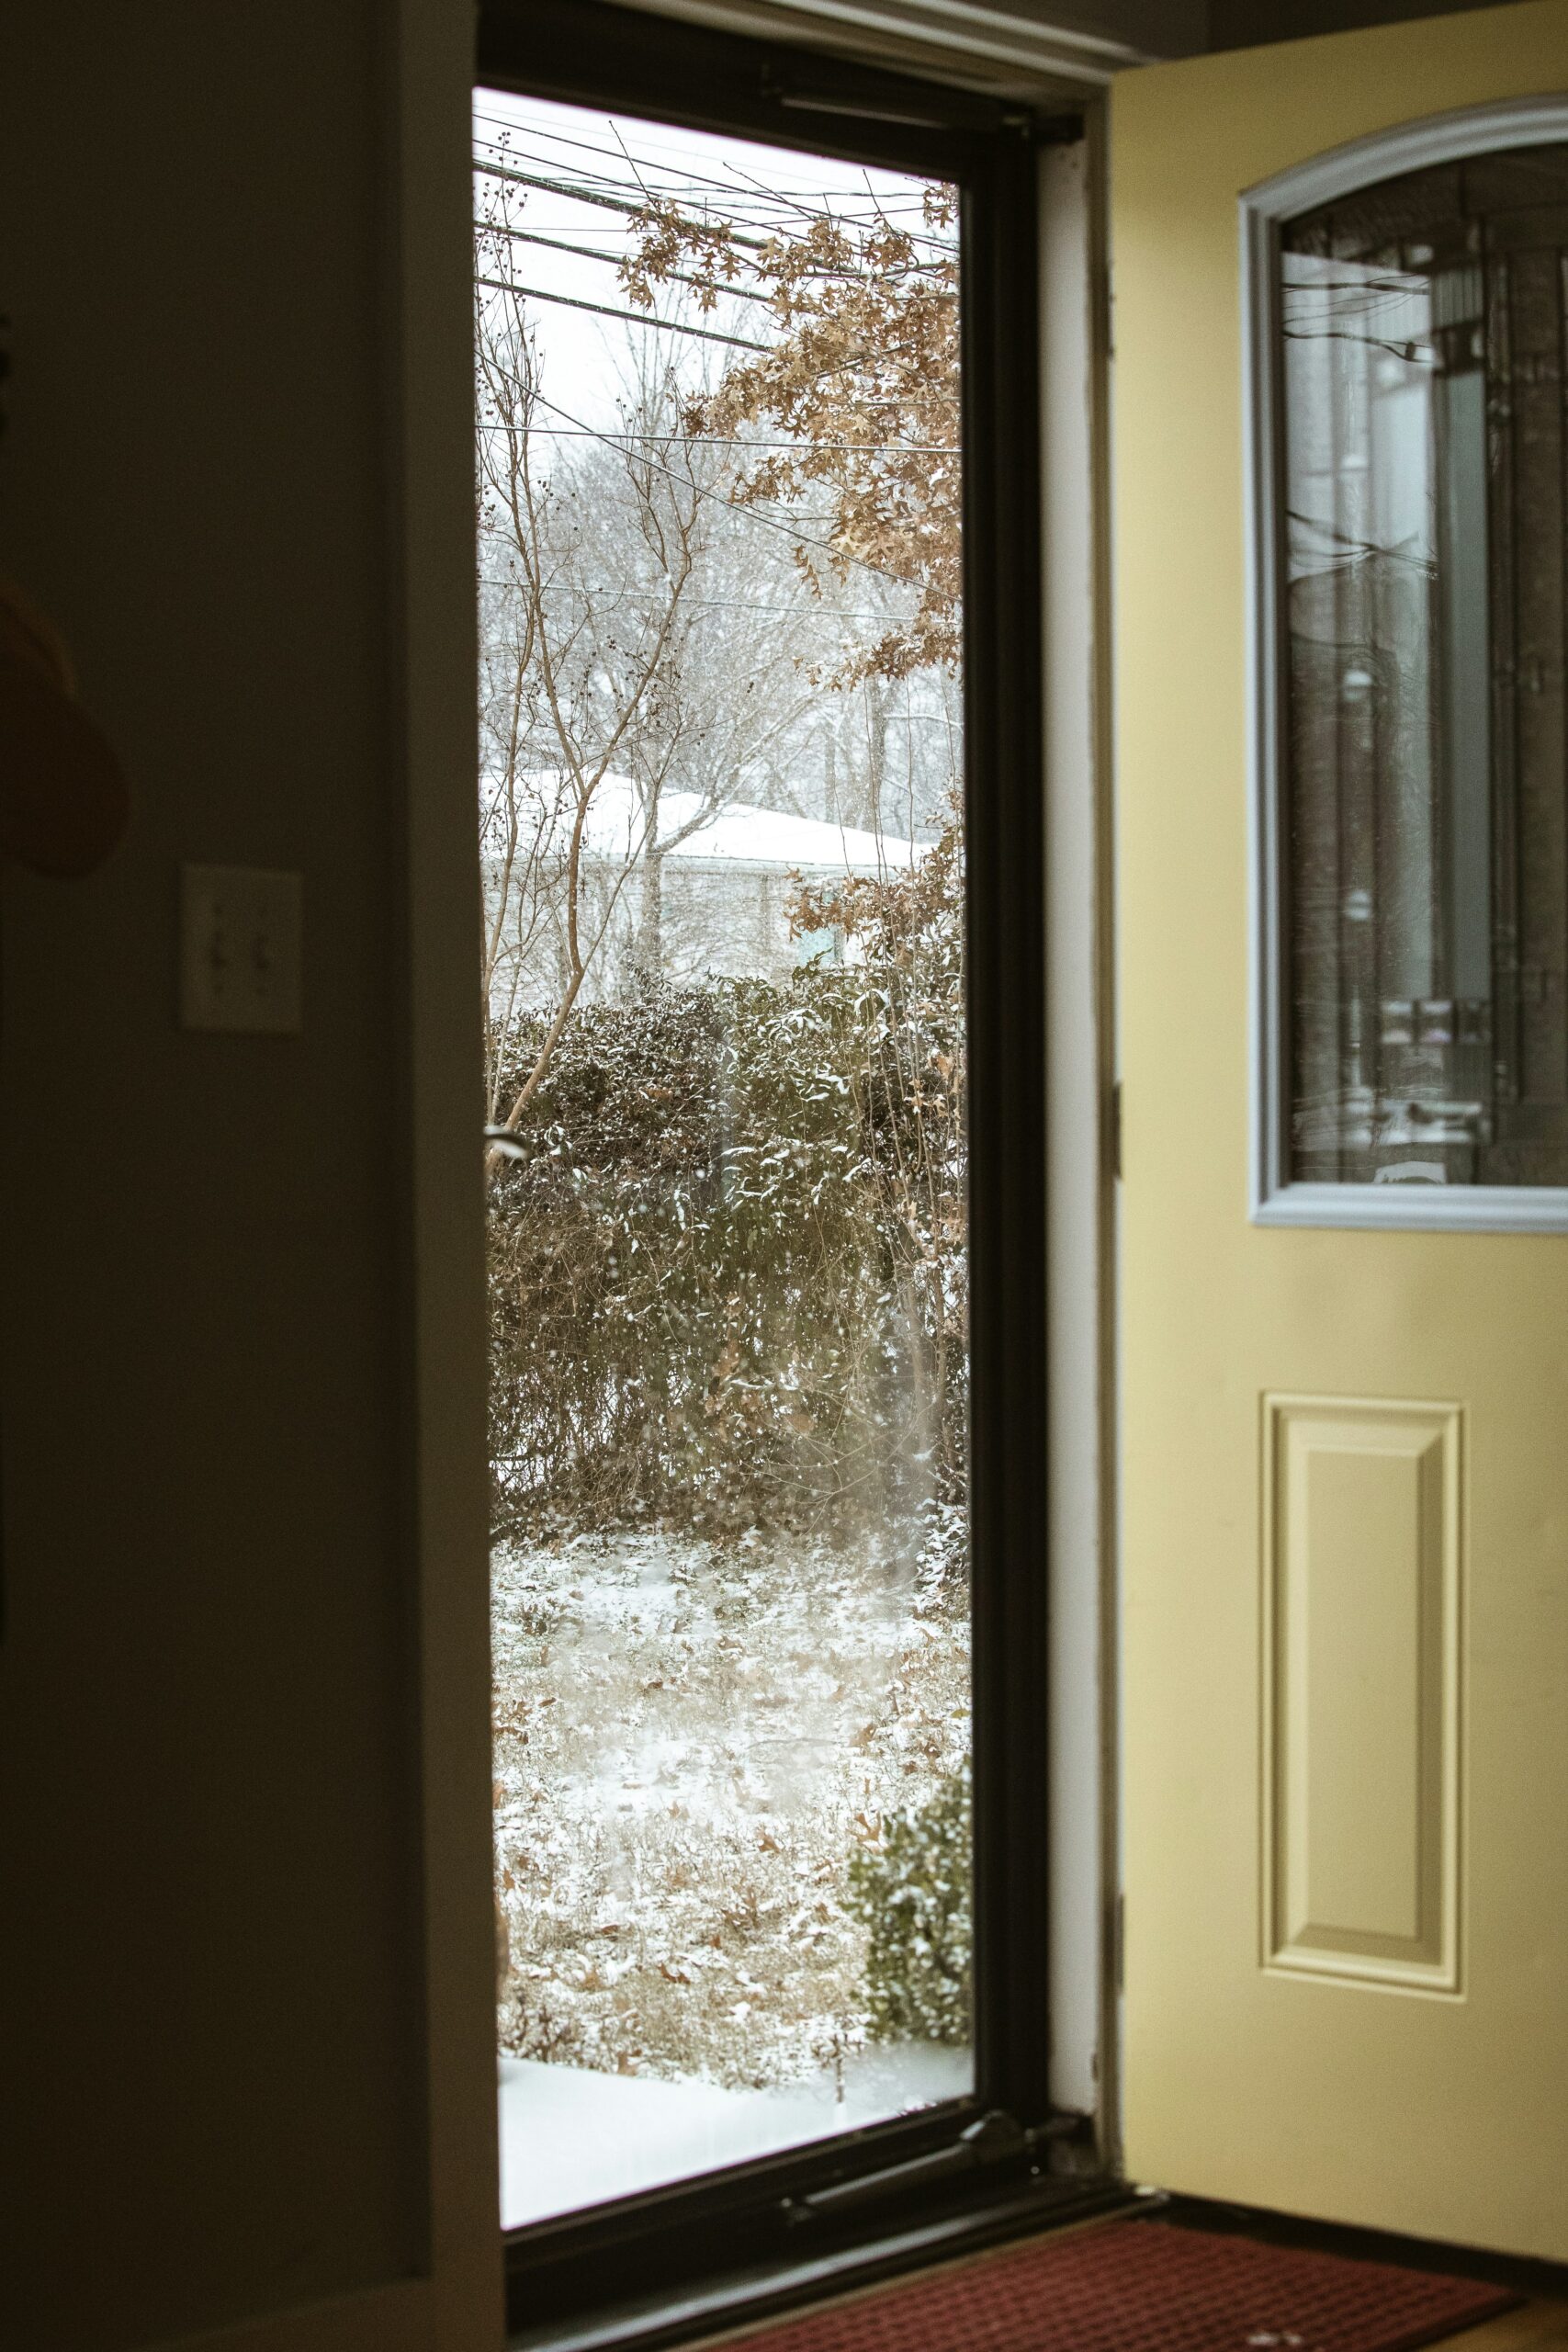
There’s nothing cozy about a drafty house. You crank up the heat, but the living room never feels warm. You sit on the couch with a blanket because there’s a cold breeze hitting the back of your neck. You walk past the front door and feel the chill radiating from the gap at the bottom.
Drafts aren’t just uncomfortable — they’re expensive. The Department of Energy estimates that air leaks account for 25 to 30 percent of a typical home’s heating and cooling costs. That’s money you’re literally letting slip through the cracks.
I lived with drafty doors and windows for three winters before I finally did something about it. I thought fixing drafts was a big, complicated project that required a professional. Then I spent about $40 and two hours installing weatherstripping, and the difference was immediate. My house was warmer, the furnace ran less often, and my heating bill dropped by about 15 percent.
Weatherstripping is one of the easiest and most cost-effective home improvements you can make. It doesn’t require special skills or tools, and the materials are inexpensive. This guide shows you how to identify where drafts are coming from and choose and install the right weatherstripping for each area.
Step 1: Find the Drafts
Before you can fix drafts, you need to find them. Air can sneak in through tiny gaps you can’t see, so use these methods to locate them.
The Hand Test
On a cold or windy day, slowly move your hand around the edges of doors and windows. You’ll feel cool air on your skin where there are gaps. Pay attention to:
- The bottom of exterior doors
- The sides and top of door frames
- Around window sashes (the parts that move)
- Where window frames meet the wall
- Around the window glass where it meets the frame
The Smoke Test
For less obvious drafts, use smoke to find air movement:
- Close all doors and windows in the house.
- Turn off any combustion appliances (furnace, water heater, fireplace).
- Turn on all exhaust fans in the kitchen and bathrooms. This creates negative pressure in the house, which pulls air in through any gaps.
- Hold a lit incense stick or a smoke pencil near suspected draft areas. Watch which way the smoke moves. If it blows inward or wavers significantly, you have a draft.
The Flashlight Test
At night, have someone shine a flashlight around the edges of a closed door or window from the outside. If you can see light from the inside, you have a gap that needs sealing.
The Dollar Bill Test
Close a door or window on a dollar bill. If you can pull it out easily without resistance, the weatherstripping isn’t sealing tightly enough.
Step 2: Choose the Right Weatherstripping
There are several types of weatherstripping, and each is suited to different situations. Choosing the right type is important — the wrong weatherstripping won’t seal properly or won’t last.
Types of Weatherstripping
| Type | Best For | Durability | Difficulty |
|---|---|---|---|
| Foam tape (open or closed cell) | Window sashes, irregular gaps | 1-3 years | Easy |
| V-strip (tension seal) | Window channels, door stops | 5-10 years | Moderate |
| Felt | Window sashes, door stops | 1-2 years | Easy |
| Door sweep | Bottom of doors | 3-5 years | Easy |
| Rubber or vinyl gasket | Door frames, window stops | 5-10 years | Moderate |
| Magnetic strip | Metal doors (like storm doors) | 5-10 years | Moderate |
| Tubular rubber/vinyl | Door frames, window stops | 5-10 years | Moderate |
How to Choose
Consider these factors when selecting weatherstripping:
Where is the gap?
- Bottom of a door: Door sweep
- Sides or top of a door: V-strip, tubular rubber, or foam tape
- Window sashes (the moving parts): V-strip or foam tape
- Window stops (the fixed parts the sash presses against): Foam tape or felt
How big is the gap?
- Small gaps (less than 1/8 inch): Foam tape, V-strip, felt
- Medium gaps (1/8 to 1/4 inch): V-strip, tubular rubber, rubber gasket
- Large gaps (1/4 to 1/2 inch): Door sweep, tubular rubber
How much wear will it get?
- High-traffic areas (doors used daily): Durable types like V-strip, tubular rubber, or door sweeps
- Low-traffic areas (windows, rarely used doors): Foam tape or felt are fine
What’s the surface like?
- Smooth, flat surfaces: Any type works
- Irregular or uneven surfaces: Foam tape conforms well
My Recommendations
If you’re not sure what to buy, here’s a simple starter kit:
- Door sweep for the bottom of exterior doors ($5 to $10 each)
- V-strip for the sides and top of doors ($8 to $12 per package)
- Foam tape for windows ($5 to $8 per roll)
Total cost: about $20 to $30 for a typical home with a few doors and windows.
Step 3: Measure and Buy
Measure the length of each side of the doors and windows you’re weatherstripping. Add about 10 percent for waste and mistakes.
Most weatherstripping comes in rolls or strips of specific lengths. Buy enough to do all your doors and windows at once — it’s easier than making multiple trips to the hardware store.
Step 4: Prepare the Surfaces
Weatherstripping won’t stick to dirty, dusty, or flaking surfaces. Proper preparation ensures a good seal and longer-lasting adhesion.
- Clean the surfaces — Wipe the door or window frame with a damp cloth and mild soap. Remove all dirt, dust, and grease.
- Let it dry completely — Weatherstripping adhesive won’t stick to wet surfaces.
- Remove old weatherstripping — If there’s existing weatherstripping that’s worn out, remove it completely. Scrape off any adhesive residue.
- Sand if needed — If the paint is flaking or the surface is rough, sand it smooth. Wipe away the dust.
- Paint if needed — If the frame needs painting, do it before installing weatherstripping. Let the paint dry completely (at least 24 hours).
Step 5: Install Weatherstripping on Doors
Doors are the biggest source of drafts in most homes because they’re large and they move. The goal is to seal the gap around the entire door — sides, top, and bottom.
Install a Door Sweep (Bottom of Door)
The bottom of the door is usually the biggest gap. A door sweep attaches to the inside bottom of the door and seals against the threshold.
- Close the door and measure the width of the door.
- Cut the door sweep to the width of the door using a hacksaw (for metal sweeps) or tin snips (for vinyl sweeps).
- Position the sweep — With the door closed, hold the sweep against the bottom of the door so the flexible part presses lightly against the threshold. You want firm contact but not so tight that the door is hard to open.
- Mark the screw holes with a pencil.
- Pre-drill pilot holes if your door is wood (this prevents splitting). Skip this step for metal doors.
- Screw the sweep in place using the provided screws.
- Test the door — Open and close it a few times. It should operate smoothly, and you should feel resistance from the sweep against the threshold.
Install V-Strip (Sides and Top of Door)
V-strip (also called tension seal) is a V-shaped strip of metal or plastic that springs open to fill the gap between the door and the frame. It’s durable and effective.
- Open the door and clean the door stop (the thin strip of wood the door presses against when closed).
- Cut the V-strip to the length of each side of the door frame using scissors or tin snips.
- Peel off the adhesive backing and press the V-strip against the door stop with the V opening facing toward the door.
- Close the door — The door should compress the V-strip slightly. If the strip is too thick and the door won’t close, you may need to adjust the position or use thinner weatherstripping.
- Nail the strip in place (optional) — Some V-strips come with small nails for additional security. If yours does, tap the nails in after positioning the strip.
Alternative: Foam Tape (Sides and Top of Door)
Foam tape is easier to install than V-strip but less durable. It’s a good option if you’re looking for a quick fix or have irregular surfaces.
- Clean the door stop as described above.
- Cut the foam tape to the length of each side.
- Peel off the backing and press the tape firmly against the door stop, about 1/8 inch back from the edge that the door touches when closed.
- Close the door to test the seal. The door should compress the foam slightly. If it doesn’t, move the tape closer to the edge. If the door is hard to close, move the tape further from the edge.
Step 6: Install Weatherstripping on Windows
Windows are trickier than doors because they have moving parts (sashes) that slide up and down. The weatherstripping needs to seal the gaps without interfering with the window’s operation.
Double-Hung Windows (Most Common)
Double-hung windows have two sashes that slide up and down. There are three gaps to seal: the sides of each sash, the meeting rail (where the two sashes meet in the middle), and the bottom of the lower sash.
Side Channels (Where the sashes slide)
V-strip works best here because it’s thin and doesn’t interfere with the window’s movement.
- Raise the lower sash and clean the channel it slides in.
- Cut a piece of V-strip to the full length of the channel.
- Peel off the backing and press the V-strip into the channel with the V opening facing inward (toward the sash).
- Lower the sash and repeat for the upper sash channel.
- Test the window — It should slide smoothly. If it’s too tight, the V-strip is too thick for the channel.
Meeting Rail (Where the two sashes meet)
- Raise the lower sash and clean the top edge.
- Apply a strip of foam tape or V-strip along the top edge of the lower sash where it meets the upper sash.
- Lower the sash and test the seal.
Bottom of the Lower Sash
- Clean the bottom edge of the lower sash and the window sill.
- Apply a strip of foam tape to the bottom edge of the sash.
- Close the window and test the seal.
Casement Windows (Crank-Out)
Casement windows seal by pressing against the frame when closed. Weatherstripping goes on the frame where the window presses against it.
- Open the window and clean the frame surface.
- Apply foam tape or tubular rubber around the perimeter of the frame where the window sash contacts it.
- Close the window and check that it seals tightly and latches properly.
Step 7: Seal Gaps Around Window Frames
The gap between the window frame and the wall (or between the window frame and the exterior siding) is a common source of drafts. This isn’t weatherstripped — it’s sealed with caulk.
How to Caulk Window Gaps
- Clean the gap — Remove any old caulk, dirt, or debris.
- Choose the right caulk — Use paintable latex caulk for interior gaps and silicone or polyurethane caulk for exterior gaps. Silicone is more durable but can’t be painted.
- Cut the caulk tube tip at a 45-degree angle. Cut it slightly smaller than the gap you’re filling — you can always cut more off.
- Apply the caulk in a steady bead along the gap. Move the caulk gun slowly and evenly.
- Smooth the bead with a wet finger or a caulk smoothing tool. Press the caulk into the gap and remove excess.
- Let it dry according to the manufacturer’s instructions (usually 24 hours before painting).
For larger gaps (wider than 1/4 inch), use backer rod (a foam rope) to fill most of the gap before applying caulk. This saves caulk and provides a better seal.
How Much Does Weatherstripping Cost?
| Item | Cost | Covers |
|---|---|---|
| Door sweep | $5 – $10 | 1 door (bottom) |
| V-strip (roll) | $8 – $12 | 1-2 doors or 2-3 windows |
| Foam tape (roll) | $5 – $8 | 2-3 doors or 3-4 windows |
| Felt strip (roll) | $3 – $5 | 2-3 doors or 3-4 windows |
| Tubular rubber (roll) | $8 – $15 | 1-2 doors |
| Caulk tube | $4 – $8 | Several windows |
Total for a typical home (2 exterior doors, 6-8 windows): $40 to $80
Compare this to the cost of professional weatherstripping installation ($200 to $500) or the cost of higher energy bills from drafts ($10 to $30+ per month).
How Much Can Weatherstripping Save?
The exact savings depend on how drafty your home is, your climate, and your heating and cooling costs. According to the Department of Energy, sealing air leaks can save 10 to 20 percent on heating and cooling costs.
For a typical home with $150 per month in heating costs, that’s $15 to $30 per month in savings. Weatherstripping pays for itself in the first month or two.
When to Replace Weatherstripping
Weatherstripping doesn’t last forever. Check it annually and replace it when you see:
- Foam tape that’s compressed and not springing back
- Felt that’s worn thin or matted
- V-strip that’s bent or dented
- Rubber or vinyl that’s cracked or brittle
- Door sweeps that are worn, torn, or no longer making contact with the threshold
- Gaps you can feel with your hand
Most weatherstripping lasts 1 to 10 years depending on the type and the amount of wear it gets. High-traffic doors need more frequent replacement.
Additional Tips for Reducing Drafts
Use Draft Stoppers
For a quick, temporary fix, a draft stopper (a fabric tube filled with insulating material) placed at the bottom of a door can block drafts. They’re not as effective as a door sweep, but they’re easy to move and don’t require installation.
Install Storm Doors and Windows
Storm doors and windows create an extra layer of insulation and an additional air space that reduces drafts and heat loss. If your home doesn’t have them, they’re a good investment for cold climates.
Use Window Insulation Film
For windows you don’t need to open during the winter, apply shrink-fit window insulation film. This creates an airtight seal over the entire window. It’s not attractive, but it’s very effective and costs about $5 to $10 per window.
Close Curtains and Blinds
Heavy curtains and blinds provide an extra layer of insulation over windows. Close them at night to reduce heat loss and open them during the day to let sunlight in.
Add Insulation to Electrical Outlets
Electrical outlets and light switches on exterior walls can be sources of drafts. Install foam outlet insulators (available at hardware stores for about $1 each) behind the cover plates.
Frequently Asked Questions
Can I install weatherstripping on a metal door?
Yes. Use magnetic weatherstripping for the sides and top of metal doors (it works like a refrigerator door seal). For the bottom, use a door sweep designed for metal doors — some attach with screws, while others slide onto the door bottom.
Should I weatherstrip the inside or outside of the door?
Weatherstripping goes on the inside of the door frame (the door stop). This protects it from the elements and makes it last longer. Door sweeps go on the inside bottom of the door. Exterior weatherstripping is available but is less common and less durable.
Why does my door still draft after weatherstripping?
Check these things: Is the weatherstripping making good contact with the door when it’s closed? Is there a gap at the corners where the weatherstripping meets? Is the door itself warped or not hanging square in the frame? Is the threshold adjustable and set to the right height? Sometimes the problem isn’t the weatherstripping — it’s the door alignment.
Can I use caulk instead of weatherstripping?
Caulk is for sealing gaps between stationary parts (like the window frame and the wall). Weatherstripping is for sealing gaps between moving parts (like the door and the frame, or the window sash and the channel). Don’t caulk a door or window shut — it needs to open.
How do I know if my weatherstripping is working?
Do the hand test or the smoke test after installation. You shouldn’t feel any air movement around the sealed areas. Your house should feel warmer (or cooler in summer) and your heating and cooling system should run less frequently. Check your energy bill the following month — it should be lower.